

Adding a New PCB Document to a Project
The schematic stage is over. Before we start to develop our PCB, we need to create and add to the project a special document that contains the board outline shape, design rules, components and their placement coordinates, routing, and all the details that are required for final product manufacturing. A very important step before creating a board is successful project validation. It is strictly recommended to start working with the PCB only after you have resolved all the violations. Let’s add a PCB document and make it available online:
Right-click on the Kame_FMU.PrjPCB project name in the Projects panel then select Add New to Project > PCB to add a PCB document to the project. A new PCB1.PcbDoc document appears in the project structure and the interface of the board editor is now opened in the Altium Designer workspace.

Now we need to save the PCB document and give it a name. To do this, right-click on the PCB1.PcbDoc document then select the Save option. In the window that opens, enter Kame_FMU.PcbDoc in the File name field and click Save. The document now has the name we specified and is part of the project.
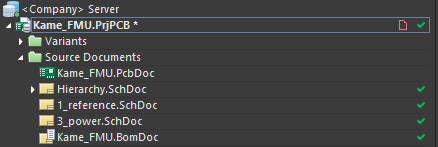
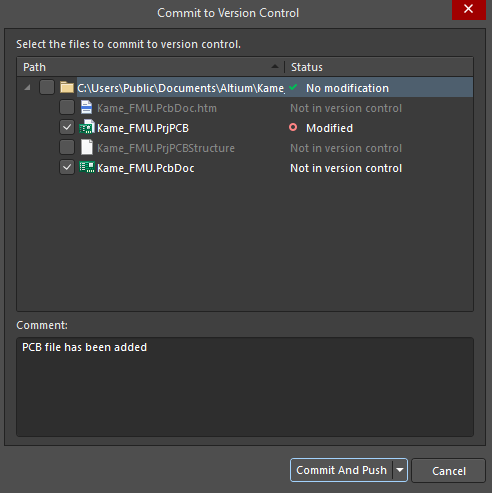
The project now has an asterisk (*) symbol next to the name meaning the project structure has been changed. We need to save the project and make the created PCB document available online. Right-click on the Kame_FMU.PrjPCB project name then select Save to Server. A Confirm dialog opens asking if you want the unsaved files saved; click Yes. In the Commit to Version Control dialog that opens, make sure that there is a check next to Kame_FMU.PrjPCB and Kame_FMU.PcbDoc. Enter PCB file has been added in the Comment field of the dialog. Click Commit And Push to commit the project.
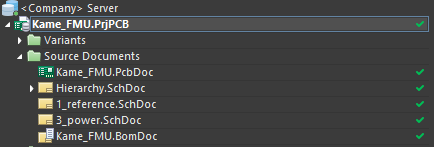
A Git window will appear for a few moments during the committing and pushing process. When it closes, you should see a green check next to the Kame_FMU.PcbDoc document. The green check indicates a successful commit and the validity of the document. This document is now available in your design space.
and are available in the cloud