


BOM Portal Settings and Controls
The BOM portal has rather simple settings and controls. Our objectives here are first to show the location and uses of BOM Portal's settings and controls, and then set the system up to get the most out of this application.
Opening the BOM Settings
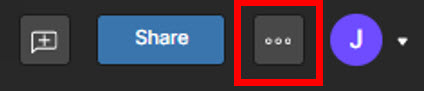
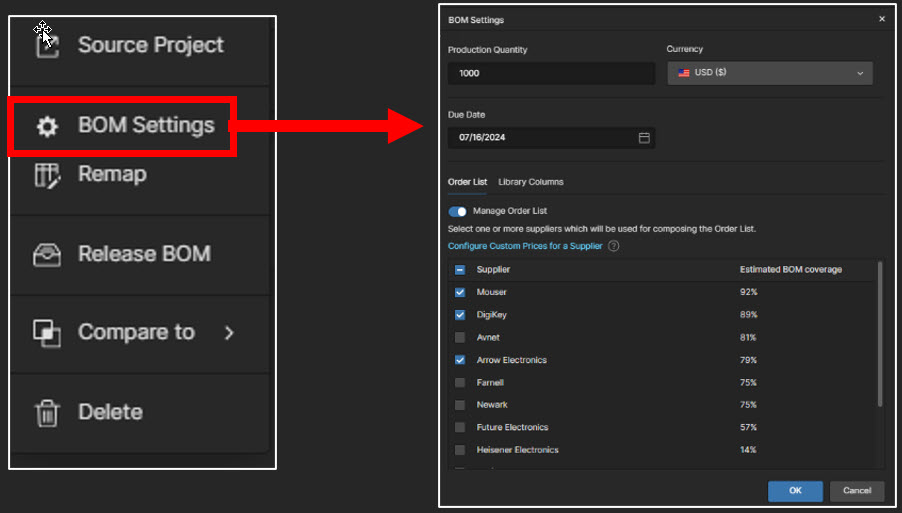
The BOM Settings window, opened from the BOM Settings option in the main  menu, allows you to configure which parts suppliers and library component parameters are enabled for the current Managed BOM. You can also specify the target production run, currency and global region used for cost estimates, and proposed BOM completion date.
BOM Setting
This is an essential panel to look at and set up before you begin making changes on the BOM. First, you have your production quantity; this can be either a production quantity or a prototype quantity. However, keep in mind that the prototype and production runs will change in price because of the price breaks for each component.
Due Date
Adding a due date will allow BOM Portal to analyze your BOM to see any components with a long lead time outside of a set project date. Having the date the components are available is valuable information for the PCB design timeline and keeps your project on schedule.
Order List
Select the Order List tab in the BOM Settings window to enable/disable parts suppliers. The availability of these suppliers is determined by the Part Source settings in the Workspace Admin—Part Providers page. The BOM Settings window is also available from the Favorite Suppliers link in the Supply Chain view.
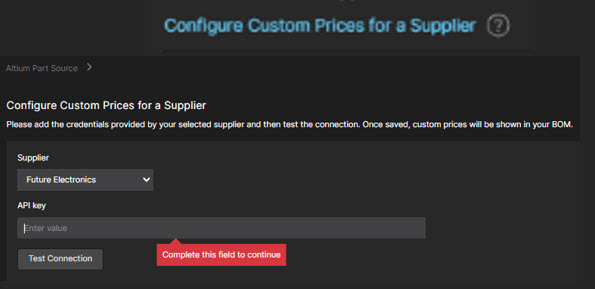
Configure Custom Prices for a Supplier
If you have set up any special pricing for your components, you can configure that here. Put in the supplier API key to connect to your supplier's special pricing.
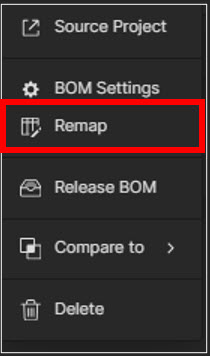
REMAPPING
When you first bring your BOM into BOM Portal, it is auto-mapped to several key information points. You're able to remap it based on your parameters and criteria. You can select the columns you wish to match up with BOM Portal for analysis. To get started, you can select columns simply by clicking on them, and can skip columns if necessary. After setting this up, an analysis will be run based on the criteria from this location.
BOM CONTROLS
These BOM Settings controls are placed in all the panels the BOM Portal except the Release Panel, allowing for easy access when changes are needed on your BOM. When a component is selected, you have access to several robust controls. These include adding a row or column, or deleting a row. You can also add alternates, which provides more flexibility by adding part choices when you get into procurement.
Components from various sources are used in your PCB design to maintain the integrity of your design and manage your library. It is best to use a single library, your Altium 365 library. In particular, if a component is not sourced from your Altium 365 library, you can create a new component directly from your BOM. You can add a name to this new component by clicking Add a Component.
A new component will be created directly from the BOM. This new component will appear in your library under a system-generated category called BOM. Another option is to link a particular component to an existing part in your Altium 365 library simply by clicking the link button. This will now search your library and look for matching components. Once that component is found, it will tell you that the BOM item is linked with the matching component.

System Controls
Within the system controls is a search panel, which you can use to search by any criteria. The next area is your column display. Here, you can set up the parameter information you wish to display on your BOM. The next item is your information panel. This lets you see the details of any component selected on your BOM. The next area is your commenting capability. You're able to place comments directly in the BOM, which can then be assigned to specific individuals or roles as tasks. Keep in mind that you can also paste images into this comment. The next area is your download area. You can download your BOM based on supplier or by template showing your single or dual supplier.
The last area is your Octocart. This is a brand new feature that allows you to buy directly from BOM Portal for items that are in your BOM.
