

Cloning an Existing Component
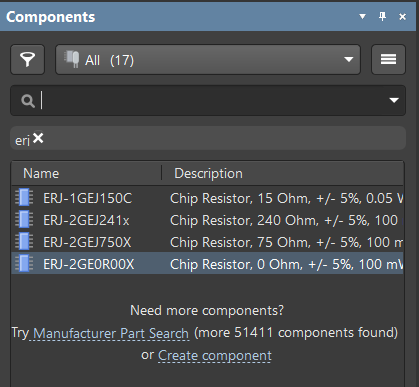
When creating a new project or editing an existing one, you may need to create new components. The most convenient way to do this is to clone a current component. Creating a cloned component is quite easy in Altium.
Right-click on the component then select Operations > Clone.
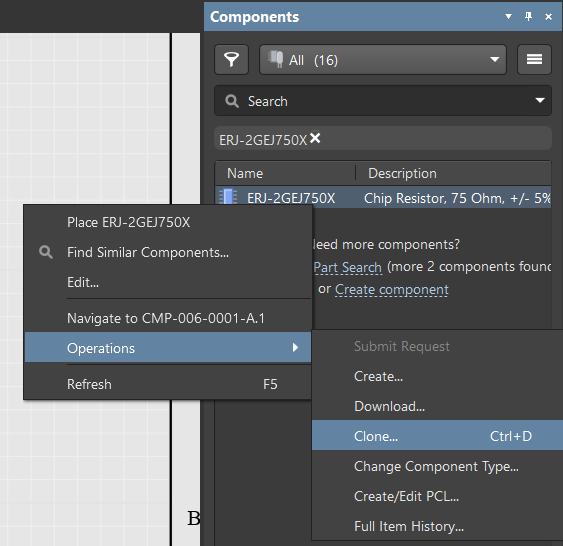
The component editor uses all data (name, parameters, models) of the original component. Next, we will edit this data.
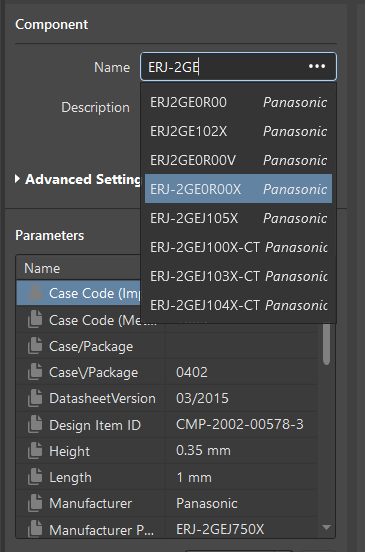
Choose a component. The Use component data dialog offers the choice to override existing data. Choices include:
- Use all data (parameters, models)
- Use only parameters
- Use only name

As a result, we now have a complete component with the name, description, parameters, symbol models, and footprint, etc.
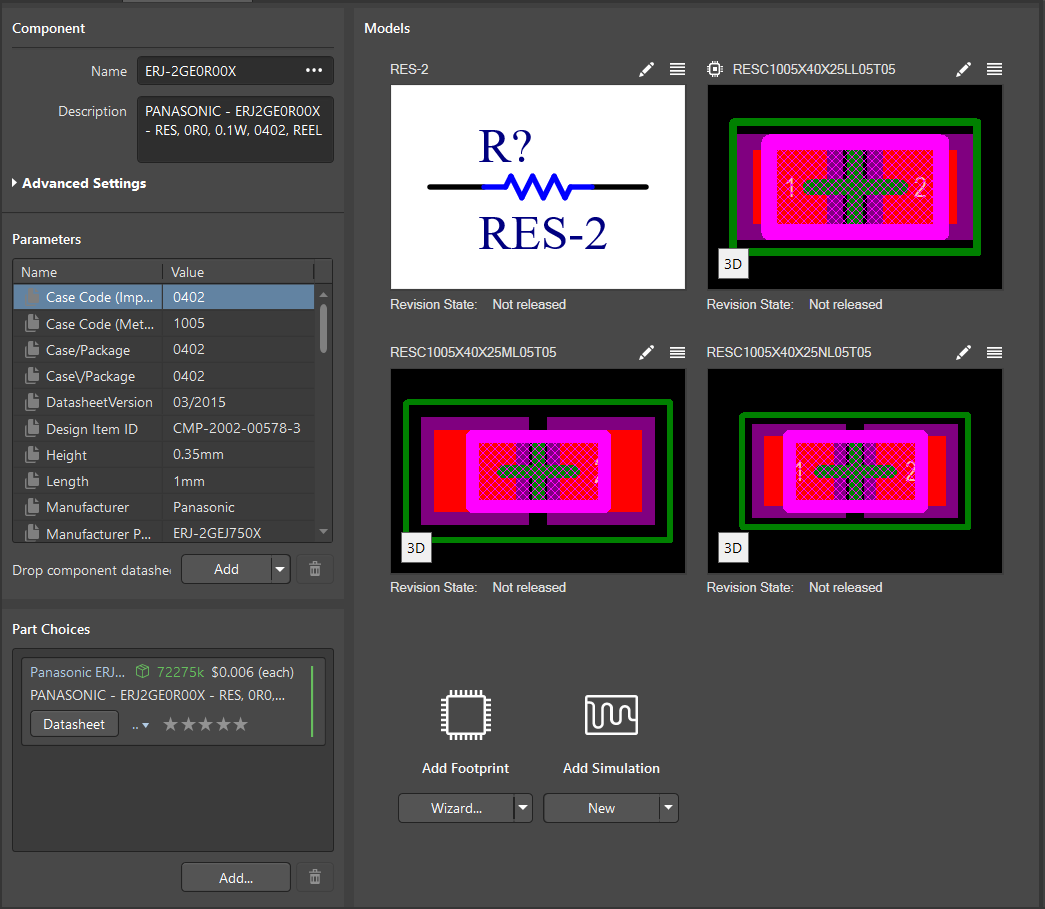
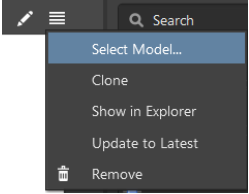
If any parameters are insufficient, unreliable, or different from existing Altium components of the same series, they can be corrected and expanded. The connected models can also be modified if necessary. To edit, click the ![]() icon and select from the resulting context menu.
icon and select from the resulting context menu.
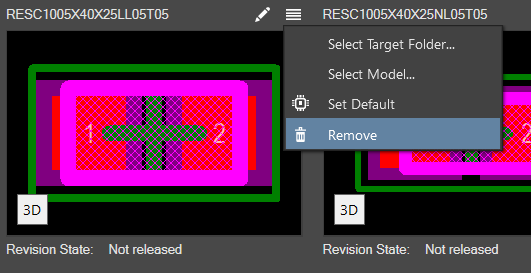
Select Model allows you to select the appropriate option from the existing symbols and footprints in the Altium library.
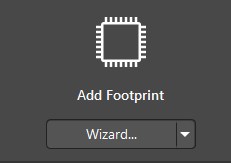
It is better to create a new footprint using the IPC Compliant Footprint Wizard dialog by clicking the Wizard button in the model field.
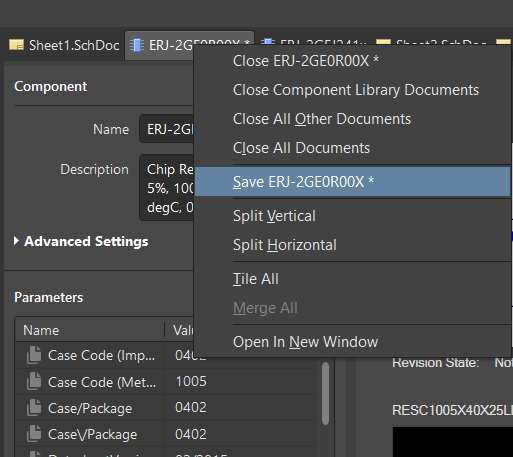
When you have finished working with the component, you should save the changes by right-clicking the tab then choosing Save <component name>.
After saving the local revision of the component, you can find the models connected to the component and available datasheets in the Projects panel.
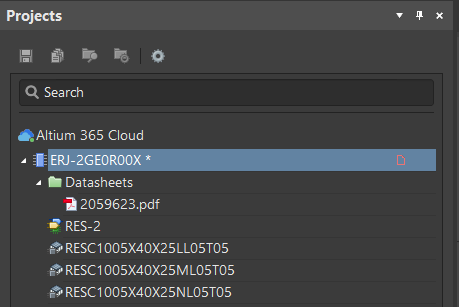
Right-click on the component in the Projects panel then select Save to Server to save it to Altium.
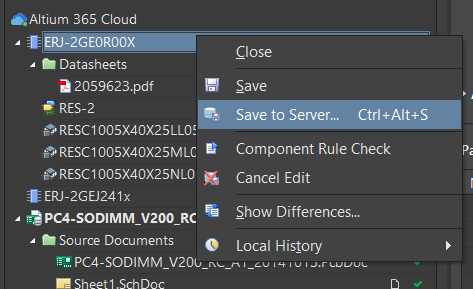
The result is a complete component available from the Altium library.
When creating a new component, all data must be corrected and completed by the user. All parts of the component, such as name, parameters, models, and part choices lists, can be changed.