Replacing Component Library Links with Cloud Components
Our project is now available in Altium with all the project components migrated to your Workspace. Our next goal is to link the existing project components with migrated components hosted on Altium.
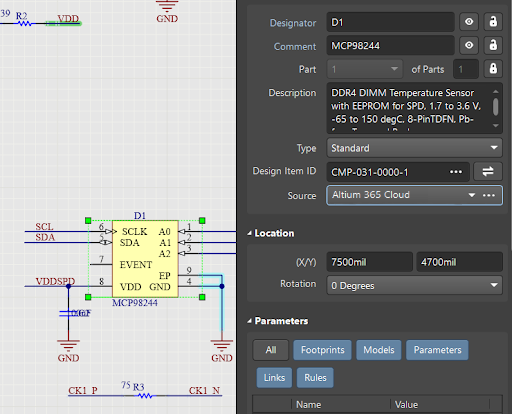
When viewing component properties in any open schematic, you see the original Design Item ID and Source (Altium Content Vault).

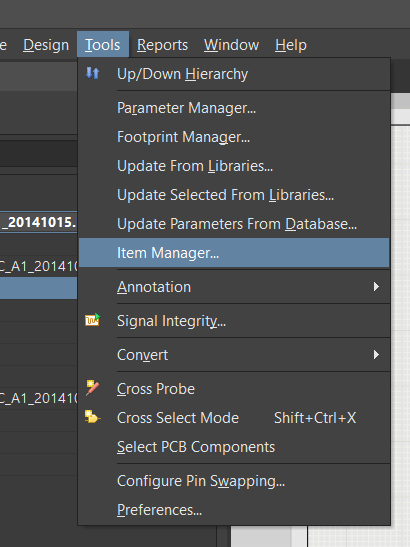
To replace old component links with Altium links, we will use the Item Manager to update and synchronize project components.
From an active schematic document, select Tools > Item Manager.
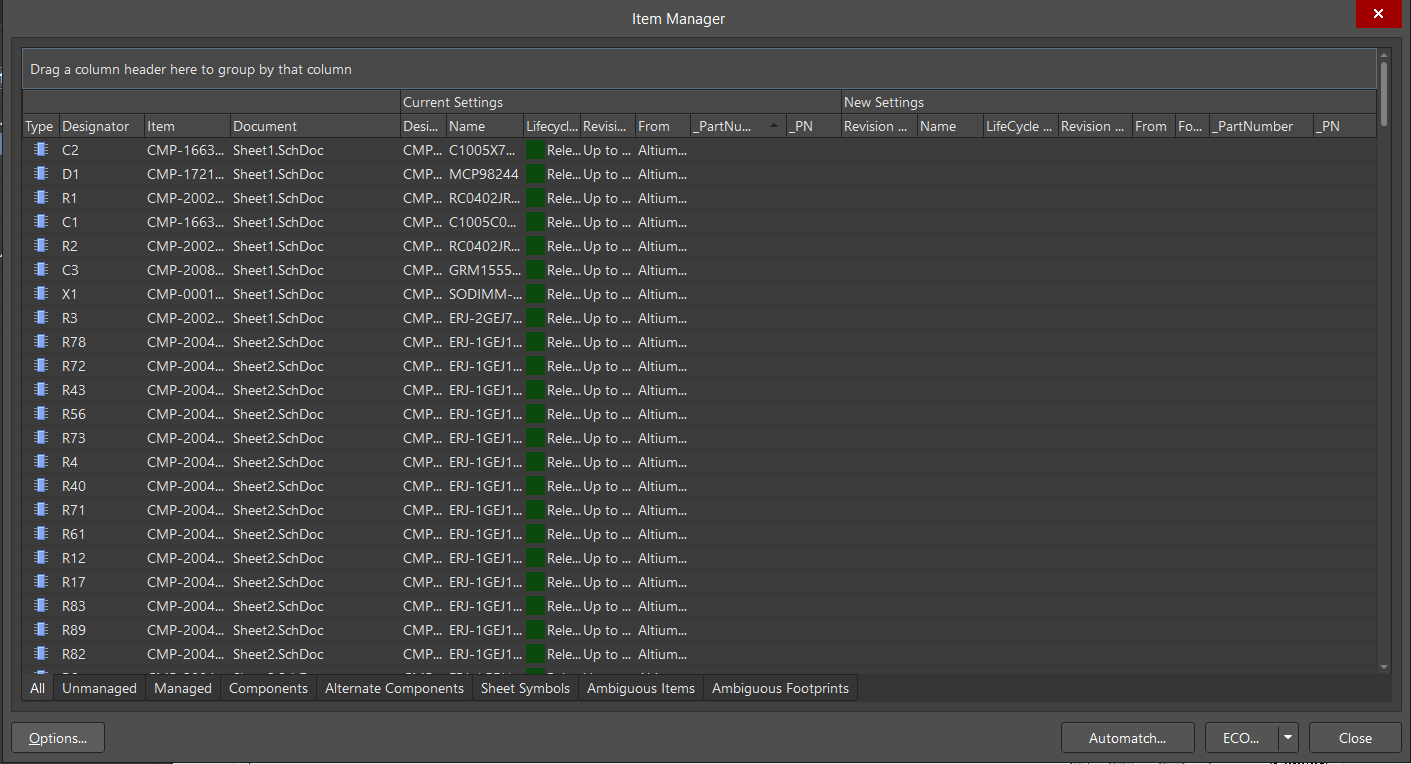
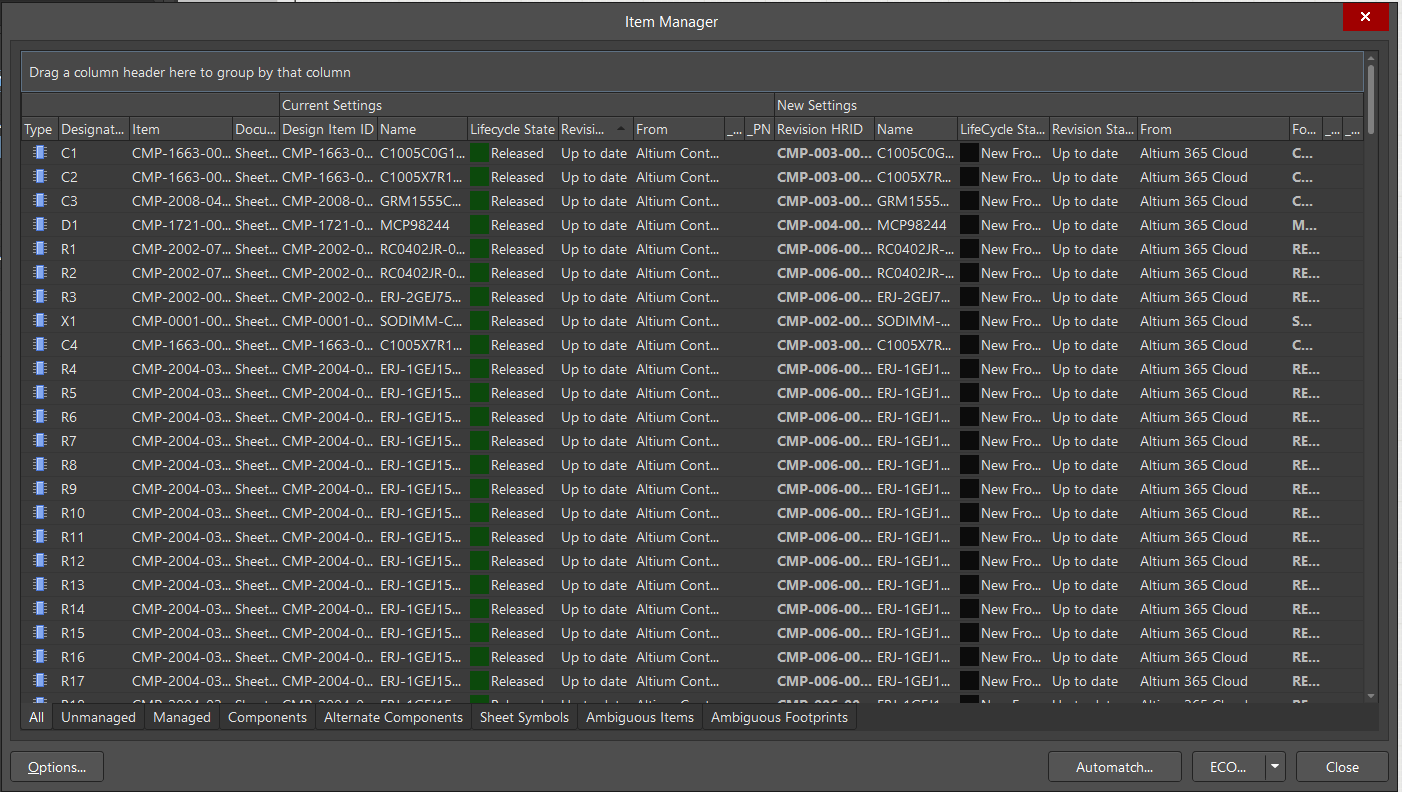
The Item Manager dialog opens, displaying all components of our project. Click the Options button at the lower left.
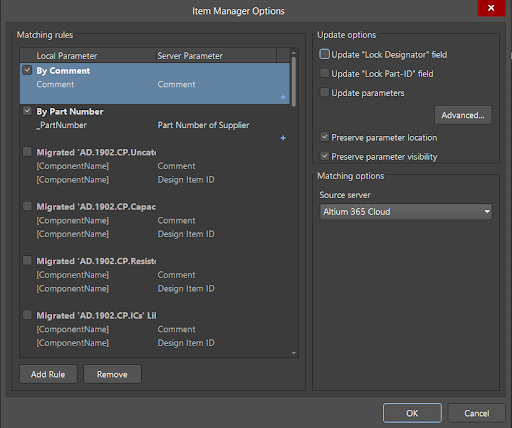
In the Item Manager Options dialog in the Source server drop-down, select your Workspace name, then click OK to close the dialog.
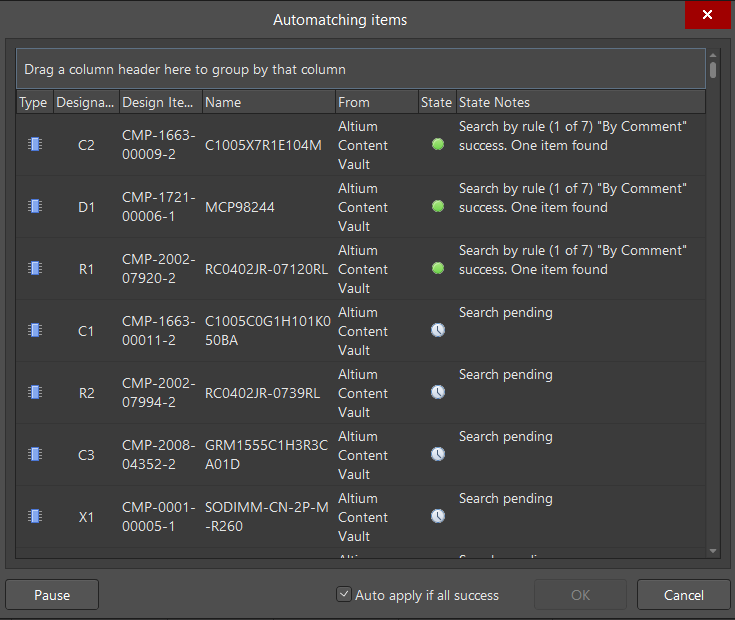
In the Item Manager dialog, click the Automatch button to open the Automatching items dialog. This dialog performs a component search operation on the source server that was selected in the Item Manager Options dialog. A green circle appears if matching was successful. Click OK when complete.
Return to the Item Manager dialog. The New Settings column shows assigned all of the component elements.
Access the ECO drop-down menu then select Apply ECO.
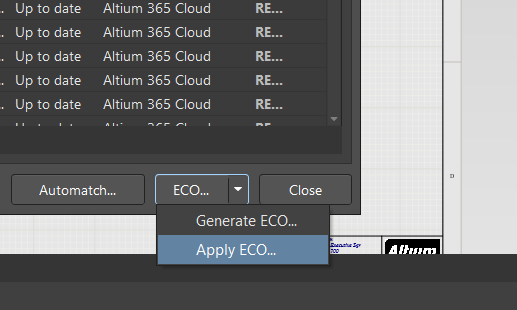
Fig. 7 - Apply ECO
After the process is complete, all component parameters are updated. You can validate the changes in the Properties panel with the new Design Item ID parameter and the Source field that now displays your Workspace name.
All changes must now be saved. Select File > Save All from the main menus. The red circles next to project documents are a warning that there are differences between the local version and the cloud server version.
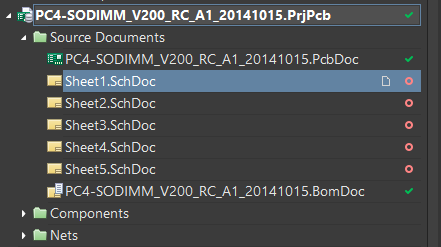
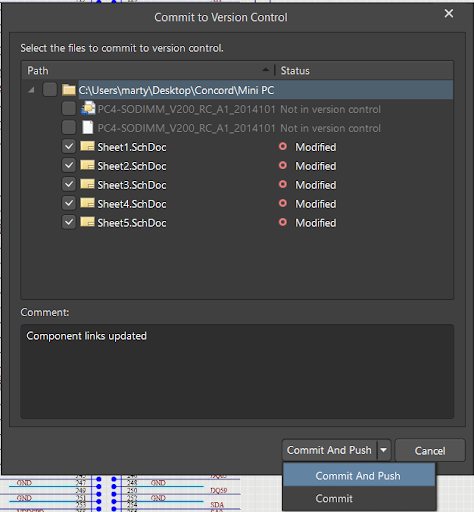
To update differences between the local and server version, right-click on the project, then select Save to Server.

The Commit to Version Control dialog opens and displays the specific documents that have been changed and allows you to specify a comment for the changes made. Enter “Component links updated” in the Comment field then click the Commit And Push button.
Now you can continue to work with the project, use components from your component library, and access the data from anywhere in the world.
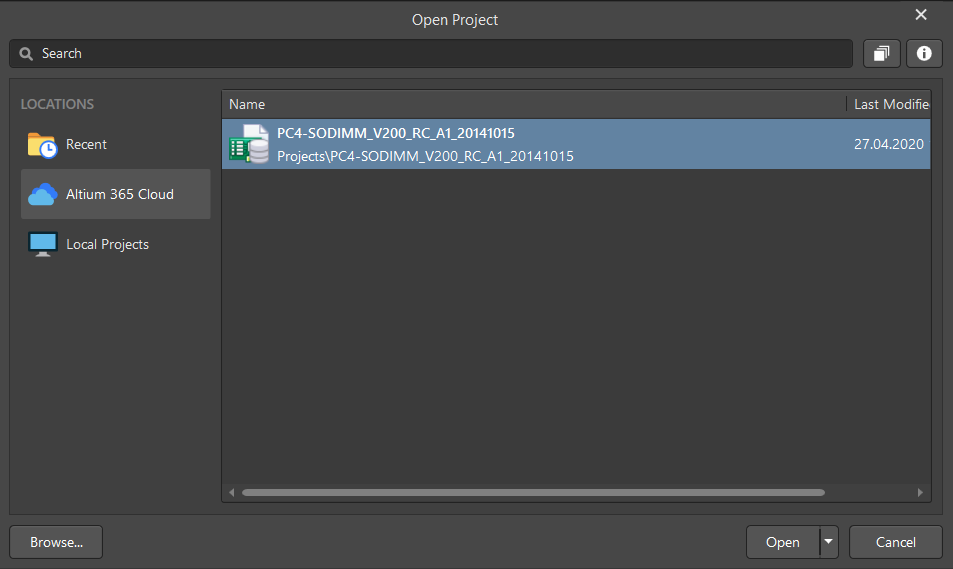
Tip: In the future, when working with a project, you can open it directly using File > Open Project from the main menus then select the version that is loaded on the server.