


Editing an Existing Component
It is common to edit a component during the design process, for reasons such as:
- correcting error detection
- changing the technology
- the need for other display options
- changing or adding component parameters
Note that as the component contains models, revising a model also affects component editing. Consider the following types of component editing:
- Changing the component model to another
- Changing the component parameters.
First, we will demonstrate how to change the component model:
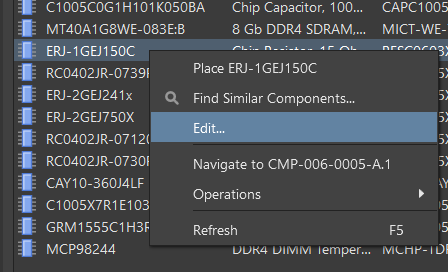
In the Components panel, right-click on the component you want to edit (for example, ERJ-1GE150C), then select Edit.
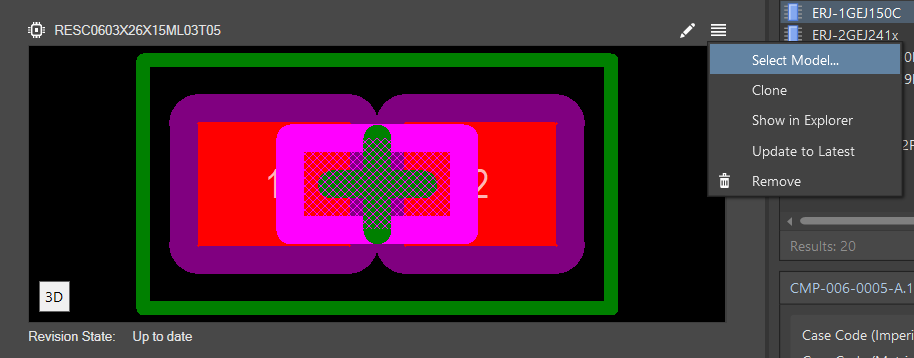
In the component editor in the Models region, click  to open a drop-down then choose Select Model.
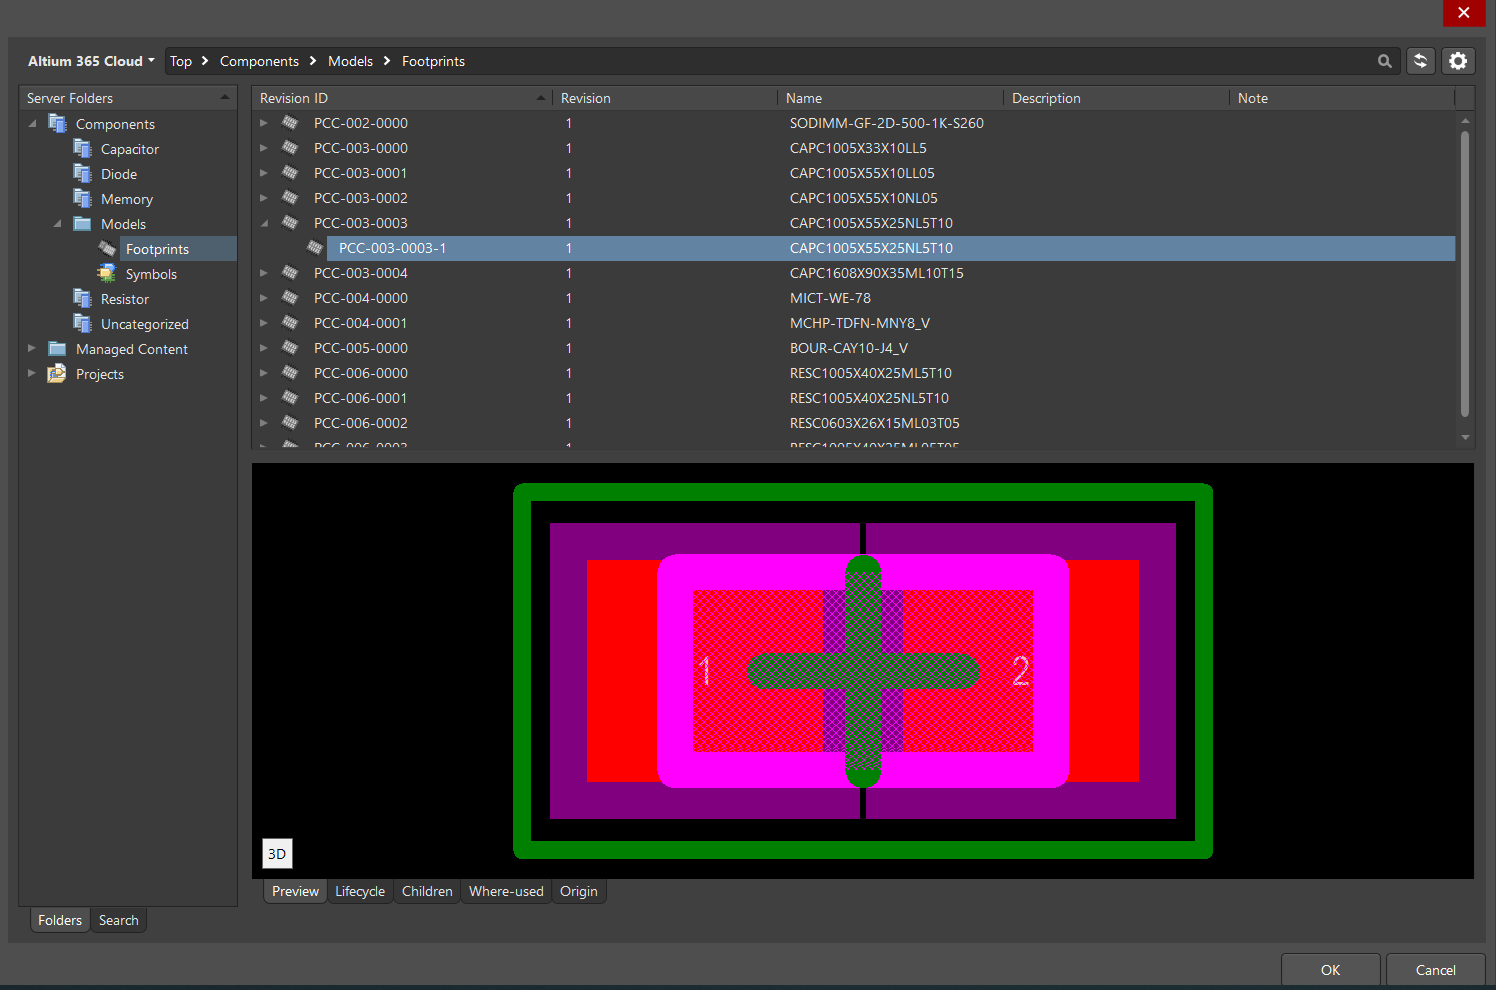
In the window that opens, in the Server Folders region, for our example, navigate to Components > Models > Footprints, select the appropriate footprint, then click OK. Follow similar steps for other available models in the component.
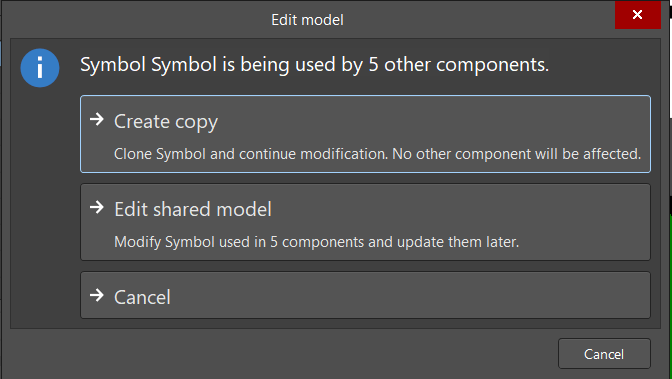
There may be times when changes to the model are required. Click  to open the Edit model dialog.
Two options are available when editing a component.
- Create copy - when this option is selected, a new model will be created based on the existing one. You will edit the new model and give it a new name if necessary. After saving the component, the new model is added, with a unique number in Altium.
- Edit shared model - when this option is selected, an existing model will be edited, and it will have a new revision. The model maintains its connection to this component.
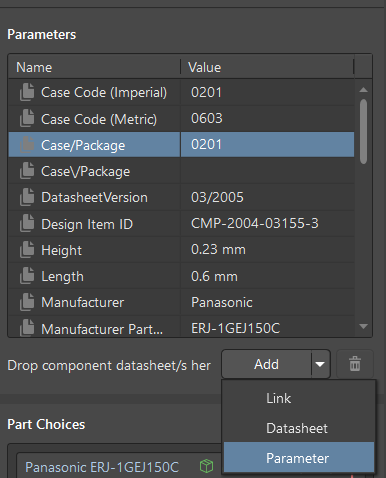
You can also add or change component parameters in the Parameters region of the Properties panel.
You can add a new parameter or link to the manufacturer's website or datasheet by using the Add drop-down.
 at the top left of the design space.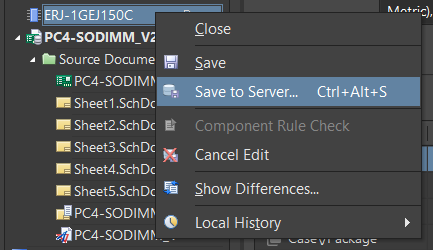
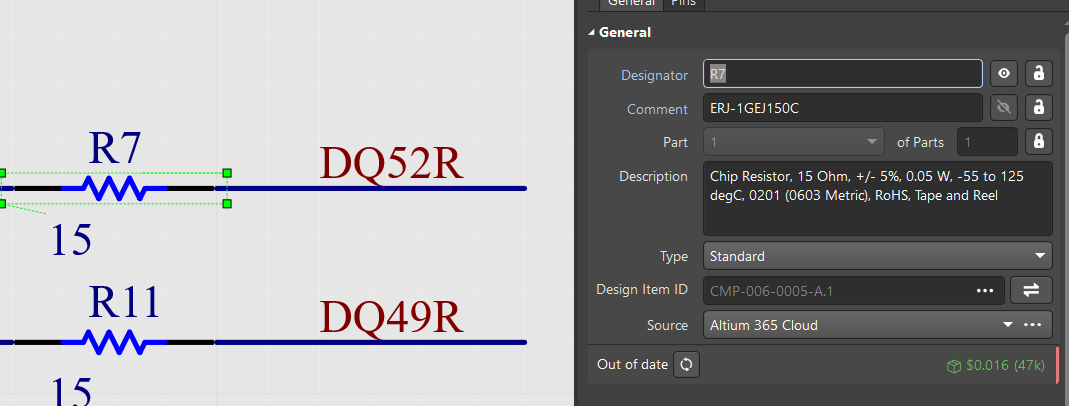
Changes to the component create a new revision verified by viewing the component properties on the schematic sheet in the Properties panel. Out of date indicates that the component revision is outdated and should be updated. The modifications will not automatically take effect for components already applied in the project.
 (Update to the Latest Revision). The resulting Up to date caption verifies that the component updates to the last revision. This topic is discussed in more detail in the Component Properties in the Schematic Editor Chapter.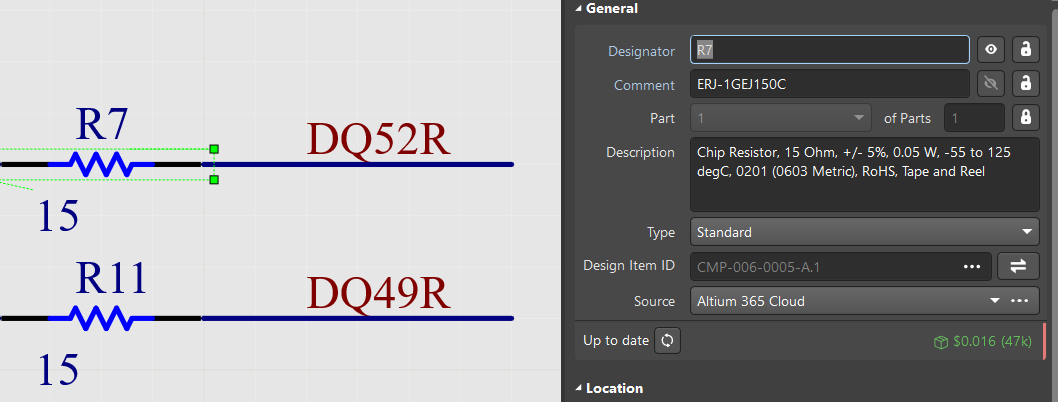
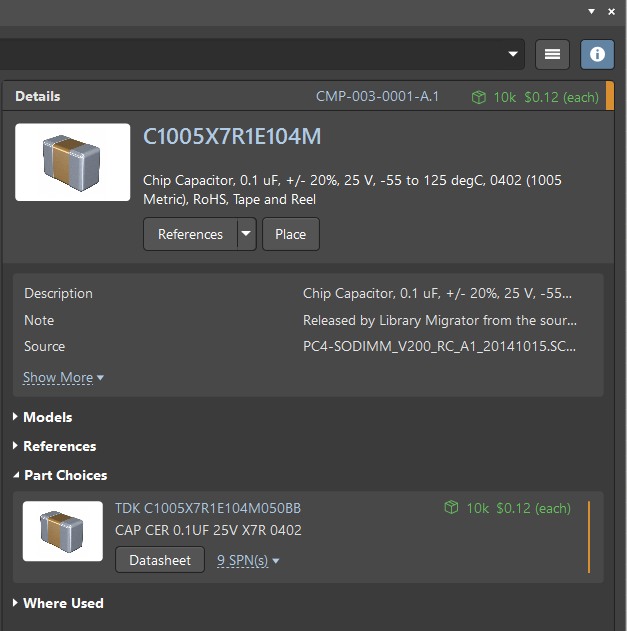
Users can also edit the part choices used in a design. Let's look at this process. In the Part Choices region of the Components panel, there is a link to a database that provides up-to-date manufacturer price and availability information directly from hundreds of global suppliers.
When you create a new or edit an existing component, you can use ready-made components with parameters and models from the Octopart database.
Tip: Part Choices is located in the Details region of the Components panel. If the Details section is not open, click  .
.
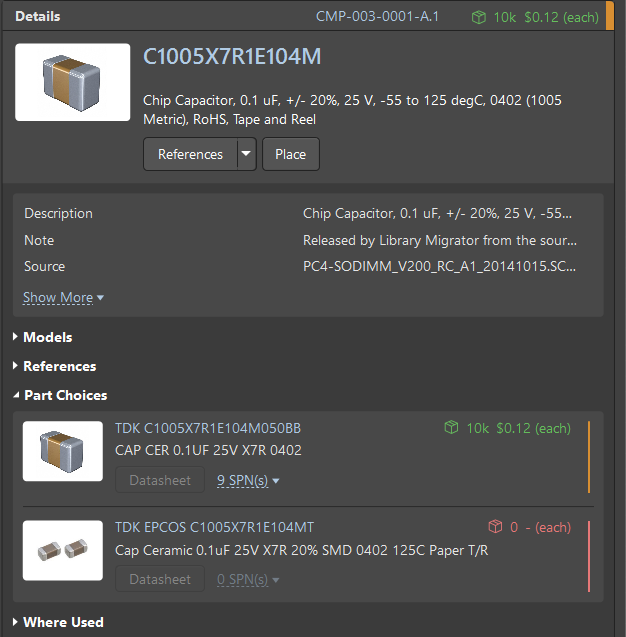
The Part Choices region can be empty or consist of one or more references. Entries in this section were added to components in Altium when transferring and migrating the project library; however, you can always update or correct entries. Part choices can be used and added to the BOM document.
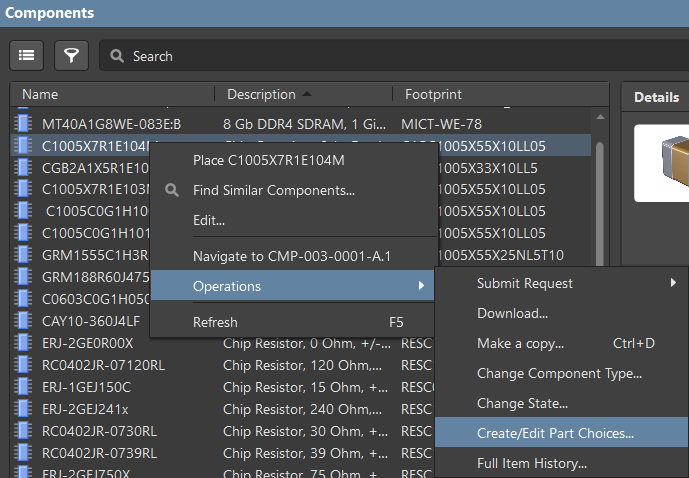
 .
.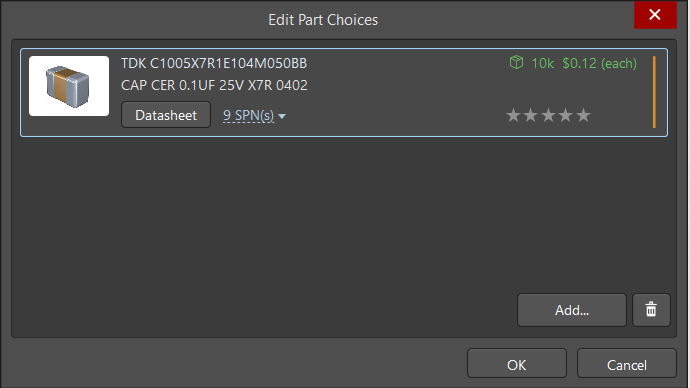
To add a new entry, click the Add button. The Add Part Choices dialog opens.
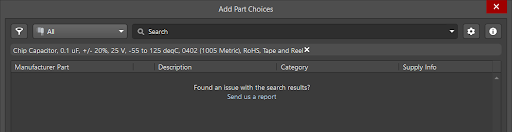
Tip: The search filter already contains text from the parameters depending on the setting on the Data Management - Parts Providers page of the Preferences dialog, as explained below.
We recommend reserving one of its parameters for the part choice search when creating a component. It can be Name, Description, or one of the user parameters.
 at the top right of the Add Part Choices dialog then select Parts Providers Preferences to open the Data Management - Parts Providers page of the Preferences dialog.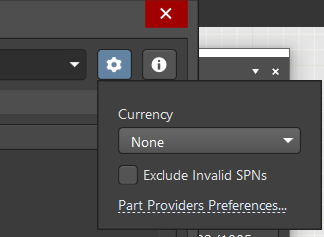
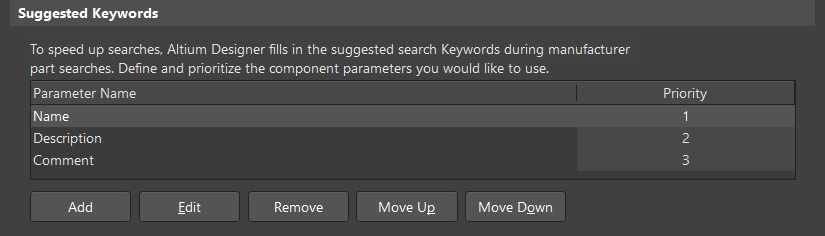
In the Suggested Keywords region, there are three default options for manufacturer part searches: Name, Description, and Comment. You can set the priority by selecting a Parameter Name then click Move Up or Move Down to change the priority. Use the additional buttons below the region to Add new entries, or Edit or Remove current entries. For example, in the image below, we have set the highest priority for the Name parameter.
 to open the Details region, which displays parameters for that component.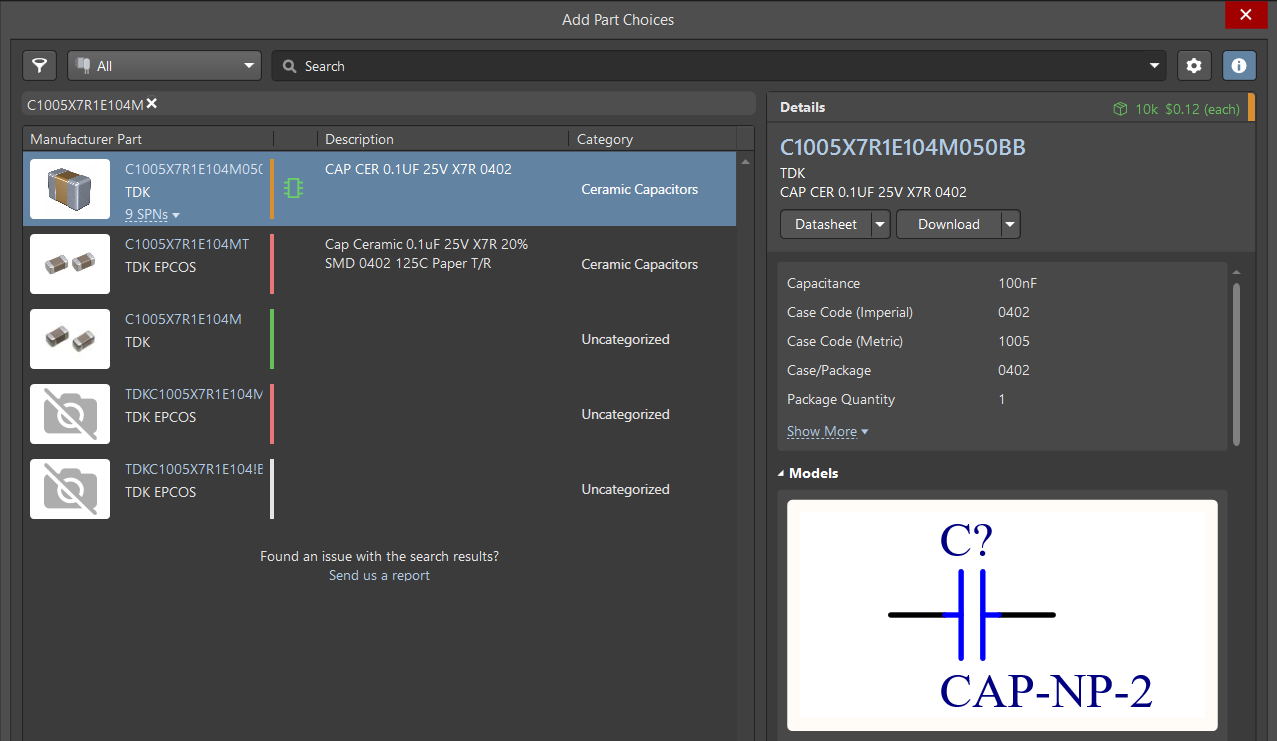
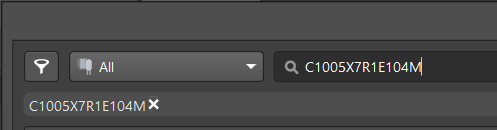
When you begin entering text in the Search field, you will be offered suggestions in a drop-down.
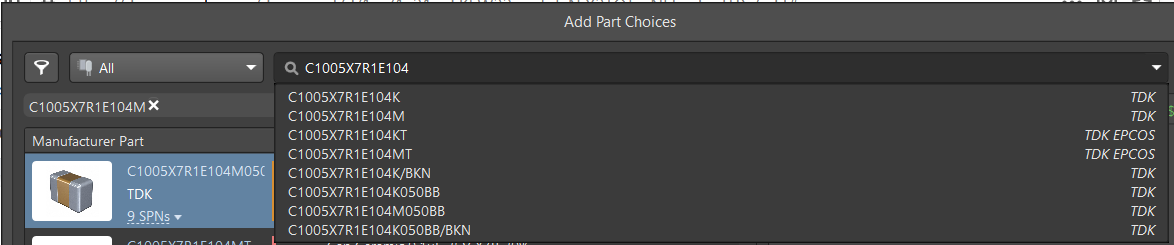
In the Components panel, the component will include two part choice entries.
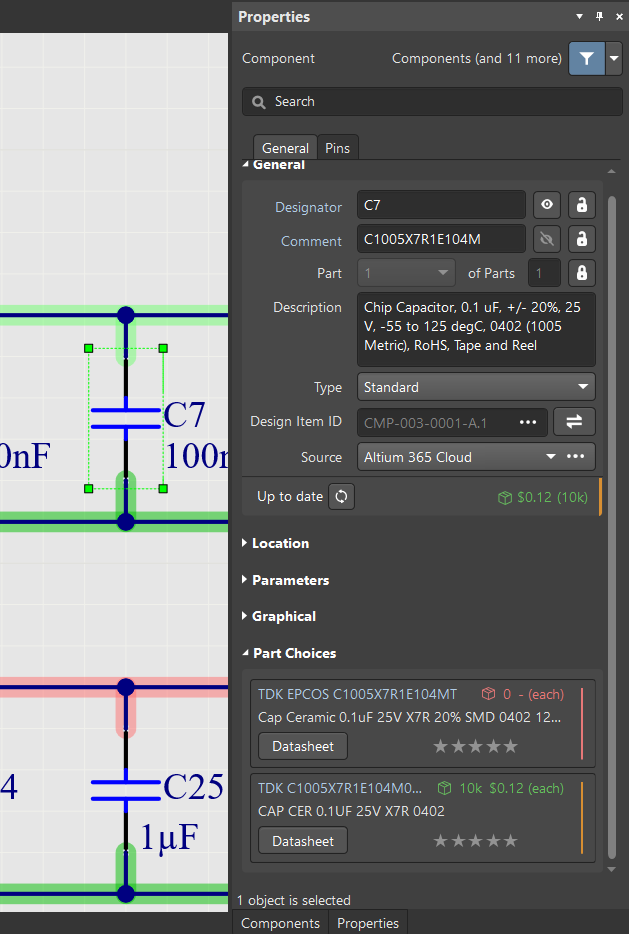
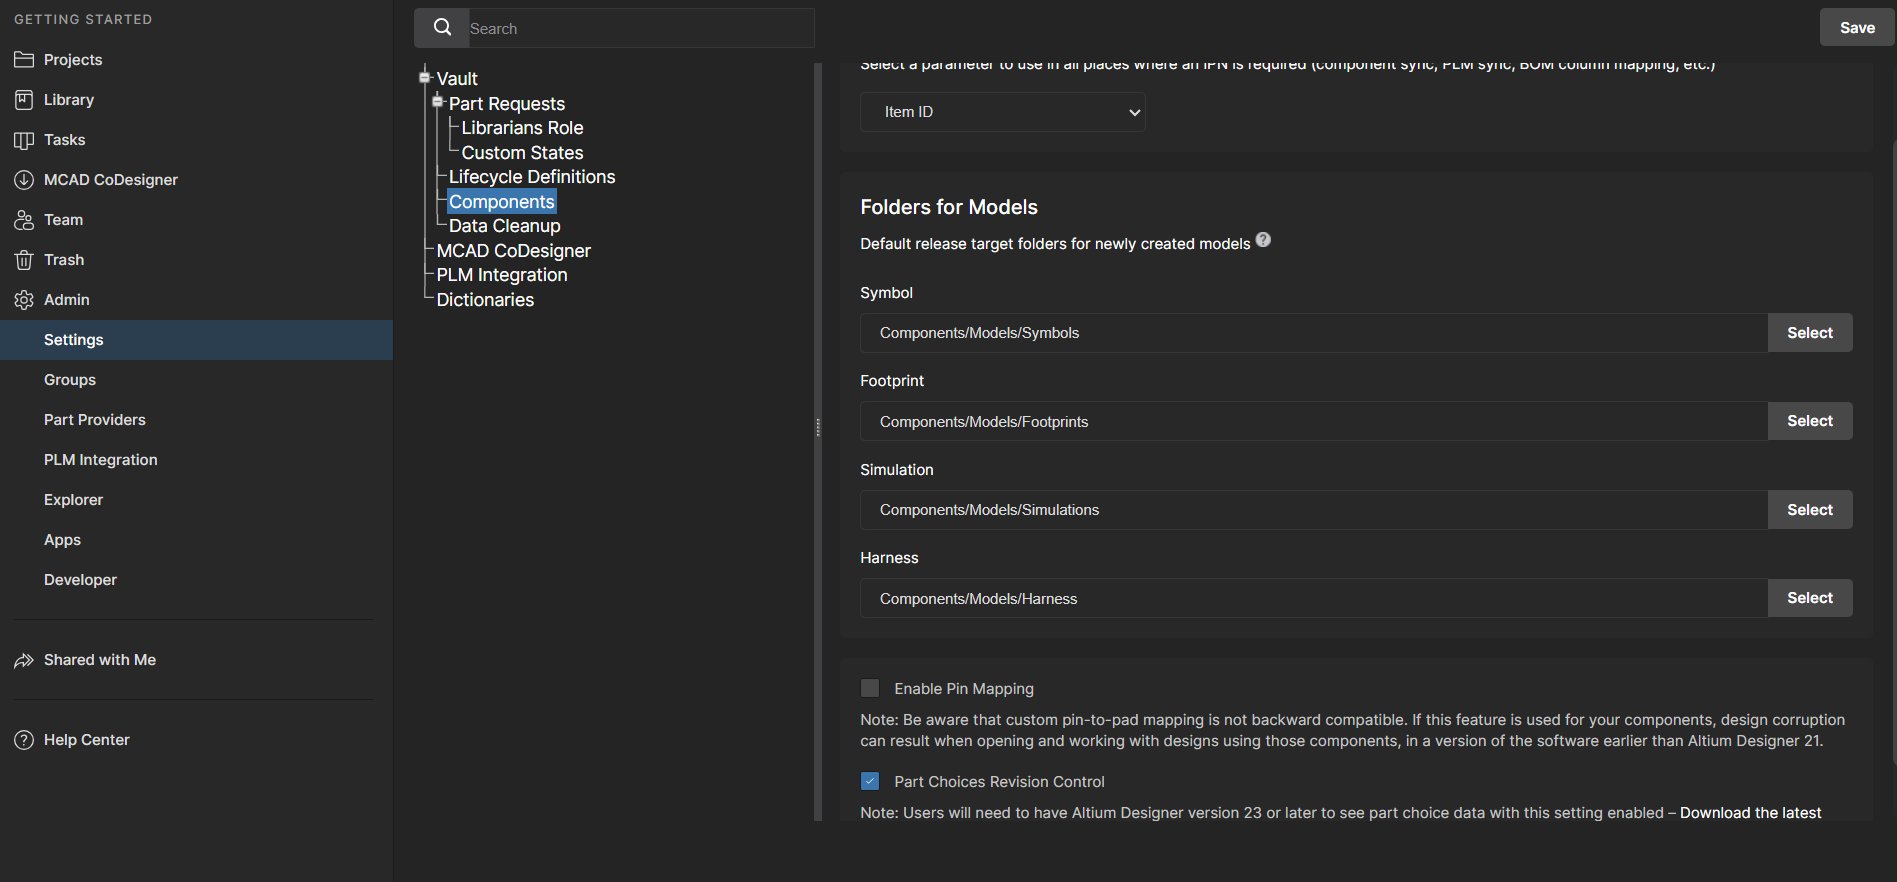
To create a new component revision with an updated part choice, enable Part Choice Revision Control on the Admin » Settings » Vault » Components page in the web browser. Otherwise part choice changes will not be reflected in the component history.
Next, modify a component's Part Choice List using the controls in the Part Choices editor region, then save the component back to the Workspace as a new revision.
- When part choice revision control is enabled, placed components do not automatically receive Part Choice List updates. To update them, select the component in a schematic, ActiveBOM, or Item Manager, and change it to the latest revision in the Properties panel.
- Part choice revision control requires Altium Designer 23 or later. Users of earlier versions cannot view or edit Part Choice Lists when this feature is enabled.
