Creating and Cloning Components
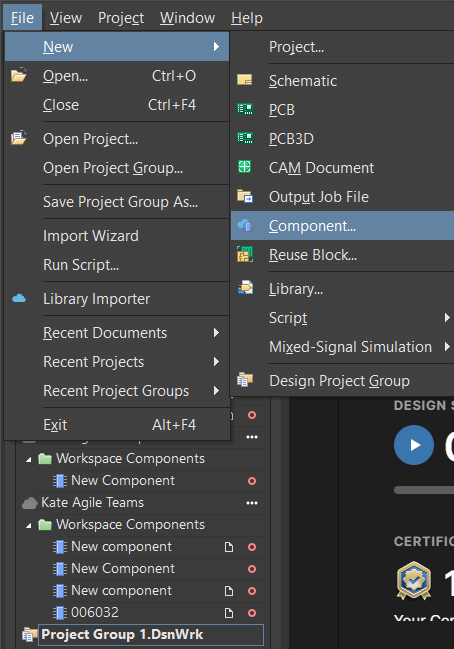
A component is an integral part of a design. To create a new component, users can create a component from scratch or upload component data from suppliers via the cloud. To create a new scratch component, begin by selecting File > New > Component on the top left. Select the component you wish to create and select OK.
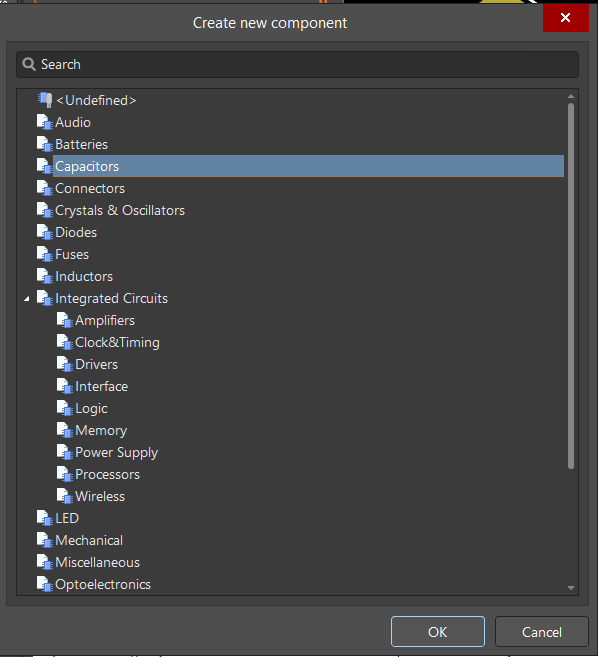
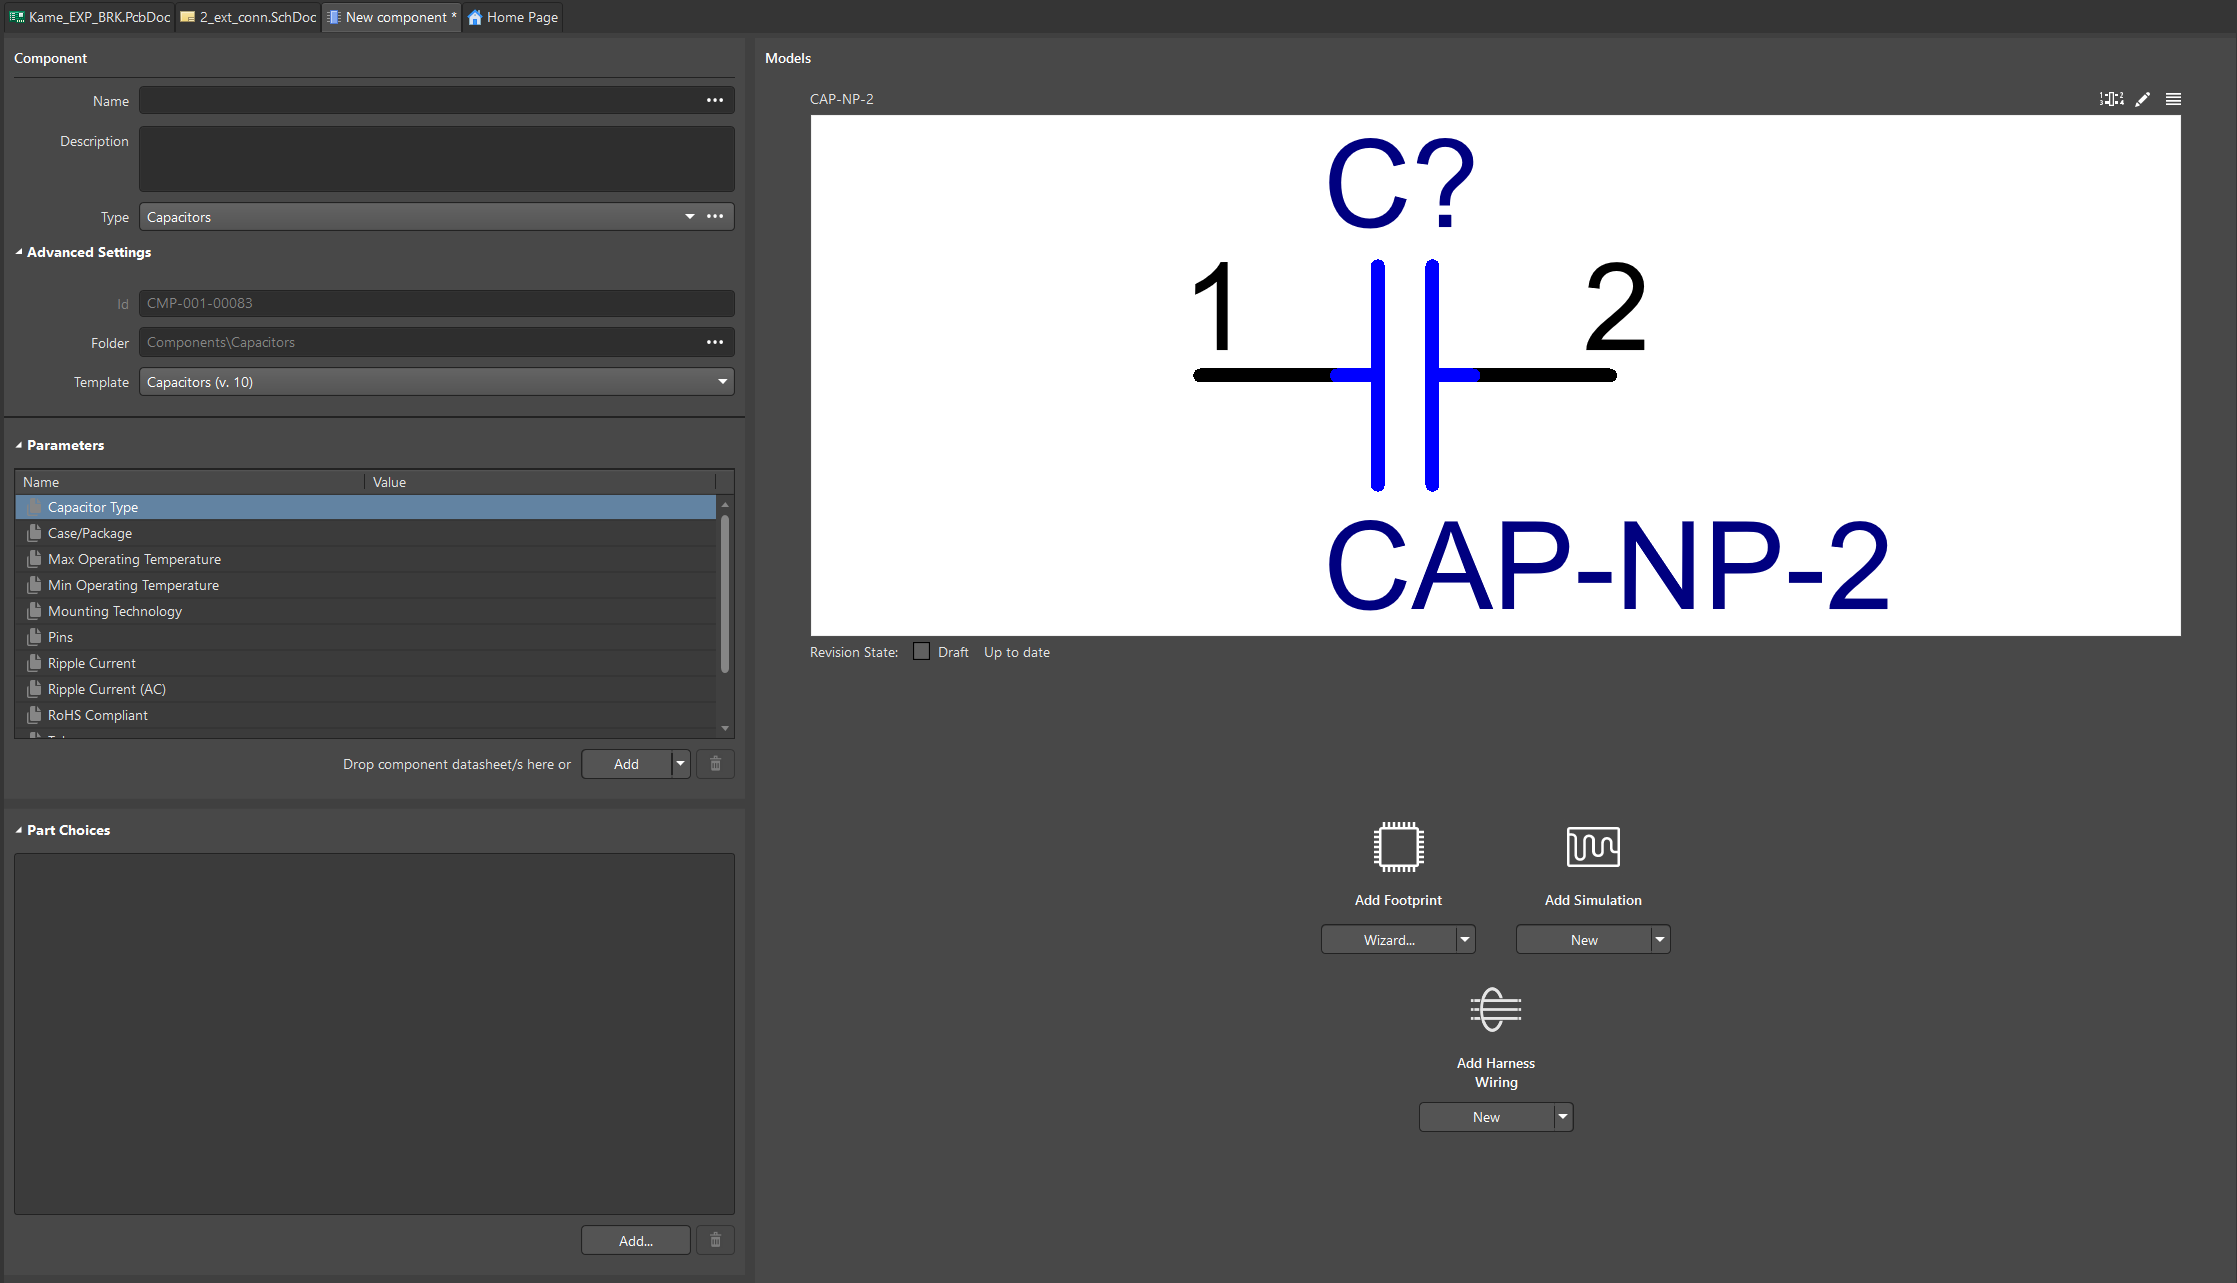
Enter the basic information for the new component, including the:
- Name
- Description
- Component type
- Folder location
- Template
Tip: Another choice is to enter a component number from the Altium Cloud Library, if desired, into the name field. In this case Altium Designer will import the specifications for this component from the cloud and allow you to approve and modify them as needed.
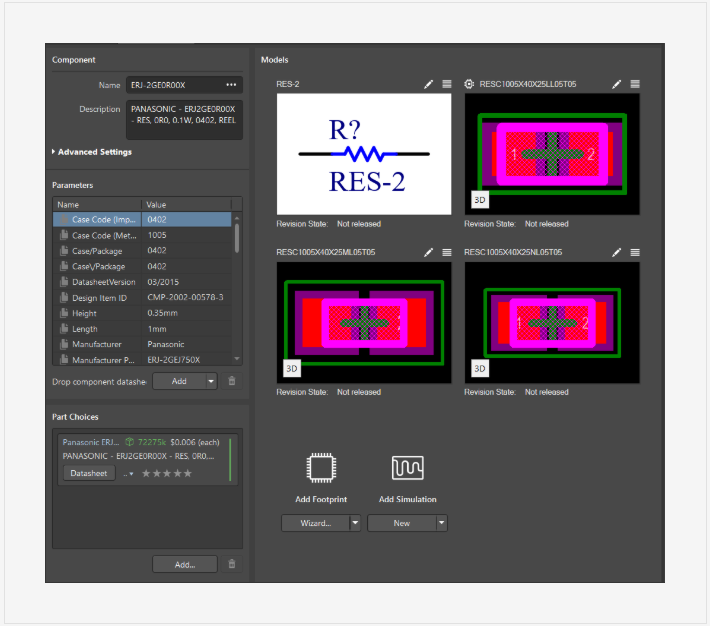
The component editor uses all data (name, parameters, models) of the original component. Next, we will edit this data. For example, we will use - ERJ-2GEJ750X, a component from Octopart.
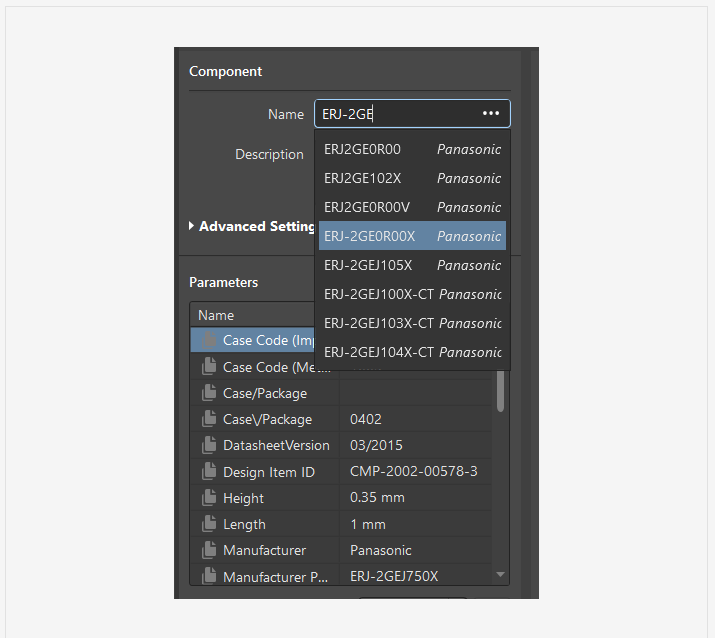
Use the menus on the right to add a PCB footprint, optional 3D Model, and wiring harness to the component. These can be added through existing models, new models, or using the footprint wizard. For more information, reference Adding Model Links.

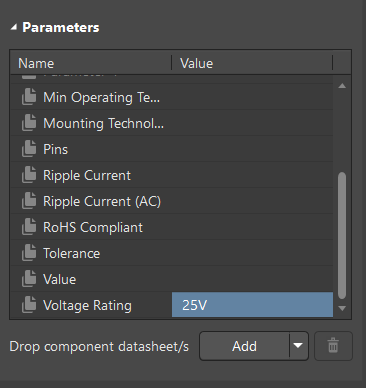
Add the parameters for the component by entering them into the Parameters toggle. New parameters and data sheets can also be added under the Drop component datasheet/s, Add button.
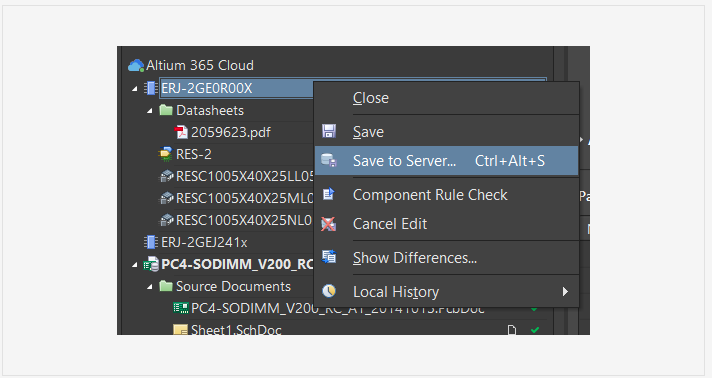
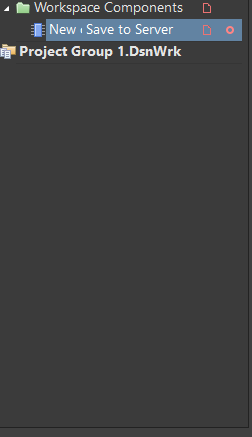
Save the new component to the server.
Components can also be created in batches for greater efficiency while adding multiple components. The article batch component information provides further details on this process.
Another option is to clone an existing component to create a new one. To do this, open the Components panel and find a component you want to use as a template. Right-click on the component then select Operations > Clone.
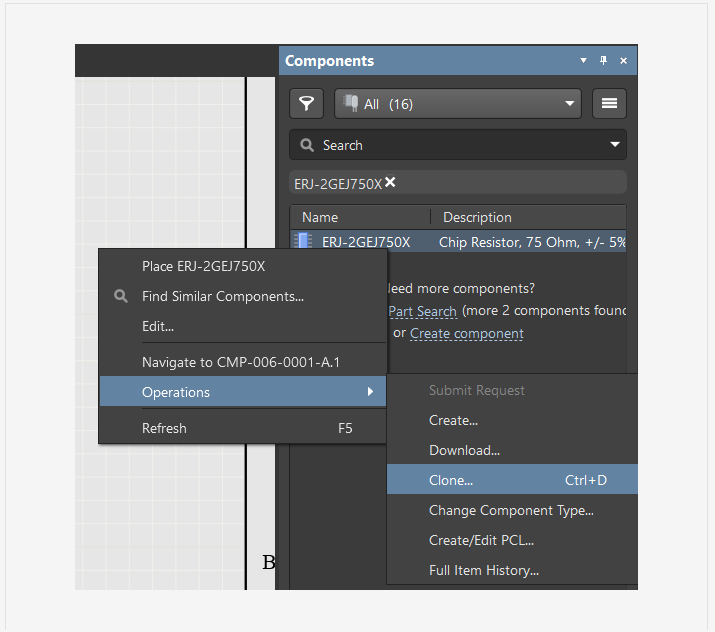
As a result, we now have a complete component with the name, description, parameters, symbol models, and footprint, etc. Component data can be edited in the next screen. To edit, click the  icon and select from the resulting context menu.
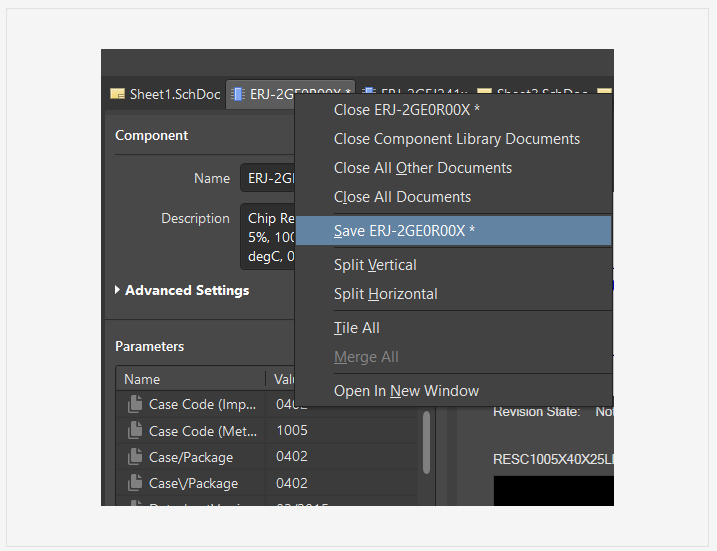
When you have finished working with the component, you should save the changes by right-clicking the tab then choosing Save <component name>.
Right-click on the component in the Projects panel then select Save to Server to save it to Altium. The result is a complete component available from the Altium library.