Editing an Existing Component
It is common to edit a component during the design process, for reasons such as:
- correcting an error detection,
- changing the technology,
- the need for other display options, or
- changing or adding component parameters.
Note that as the component contains models, revising a model also affects the editing of the component. Consider the following types of component editing:
- Changing the component model to another,
- Changing the component model, or
- Changing the component parameters.
We will first show changing the component model:
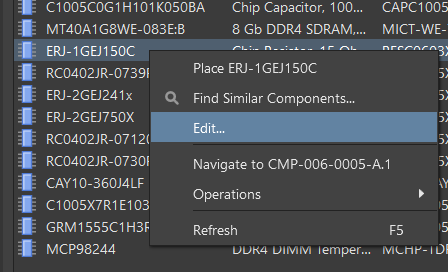
In the Components panel, right-click on the component you want to edit (for example, ERJ-1GE150C), then select Edit.
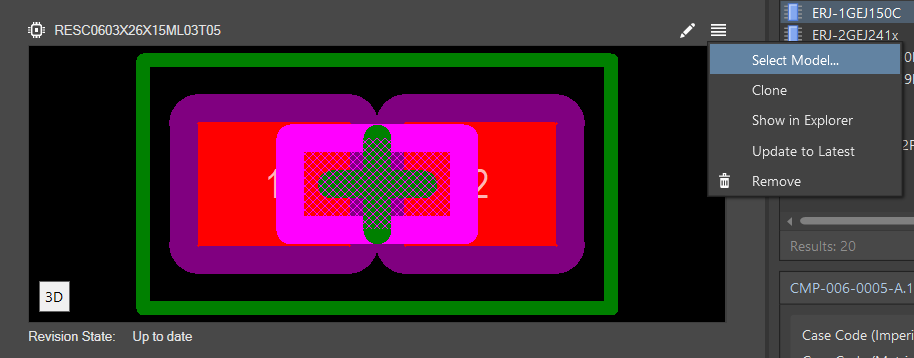
In the component editor in the Models region, click  to open a drop-down then choose Select Model.
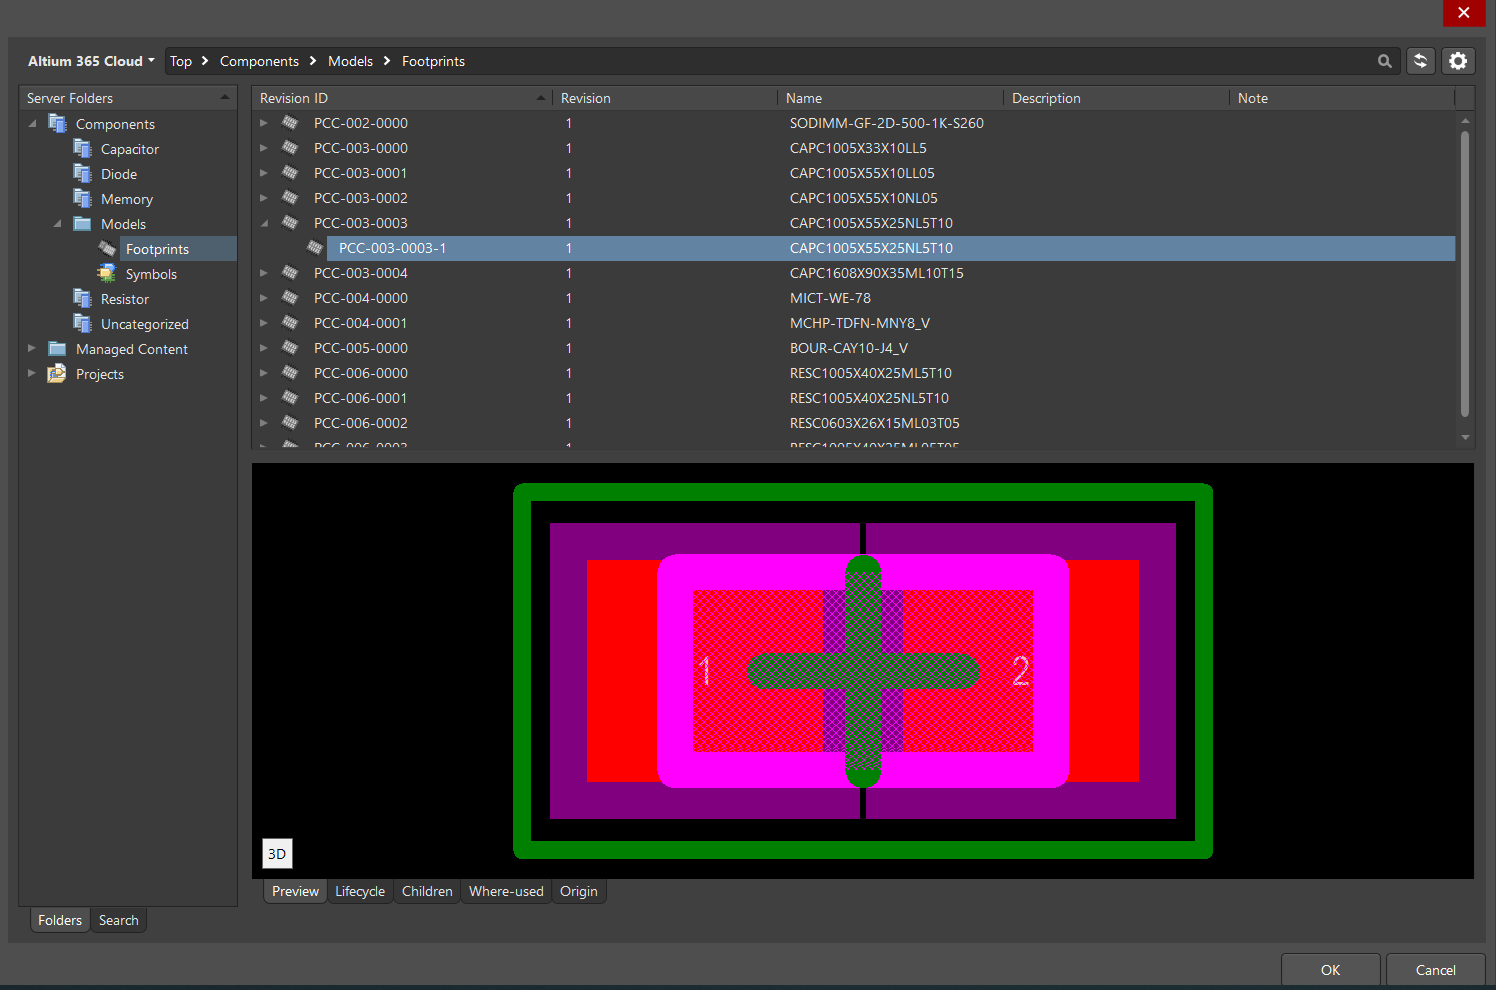
In the window that opens, in the Server Folders region, for our example, navigate to Components > Models > Footprints, select the appropriate footprint, then click OK. Follow similar steps for other available models in the component.
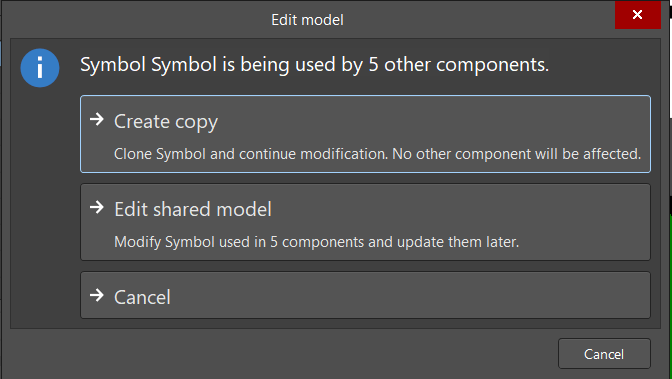
There may be times when changes to the model are required. Click  to open the Edit model dialog.
Two options are available when editing a component.
- Create copy - when this option is selected, a new model will be created based on the existing one. You will edit the new model and give it a new name if necessary. After saving the component, the new model is added, with a unique number in Altium.
- Edit shared model - when this option is selected, an existing model will be edited, and it will have a new revision. The model maintains its connection to this component.
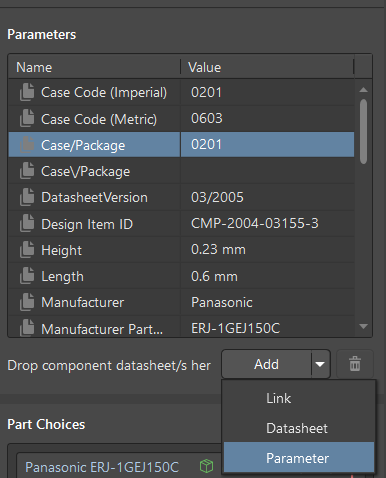
You can add or change component parameters in the Parameters region of the Properties panel.
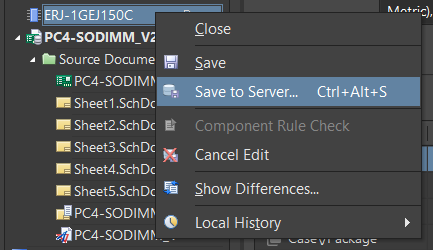
You can add a new parameter or link to the manufacturer's website or datasheet by using the Add drop-down.
 at the top left of the design space.
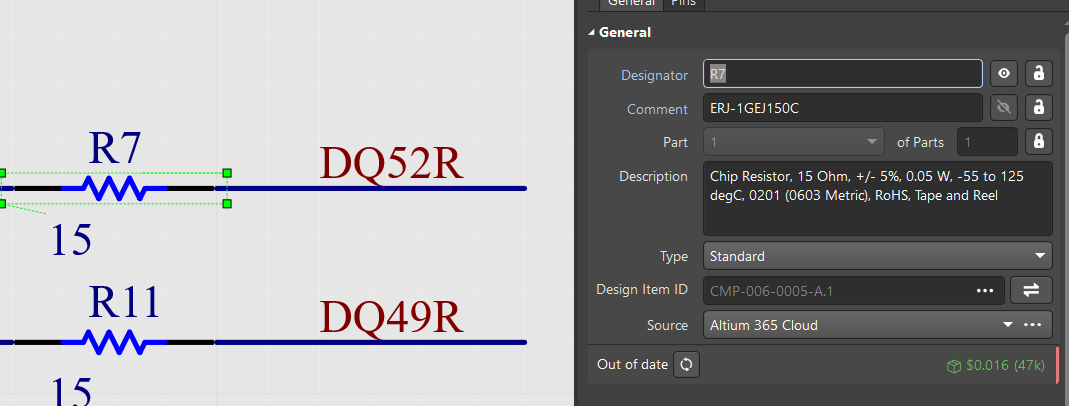
Changes to the component create a new revision verified by viewing the component properties on the schematic sheet in the Properties panel. Out of date indicates that the component revision is outdated and should be updated. The modifications will not automatically take effect for components already applied in the project.
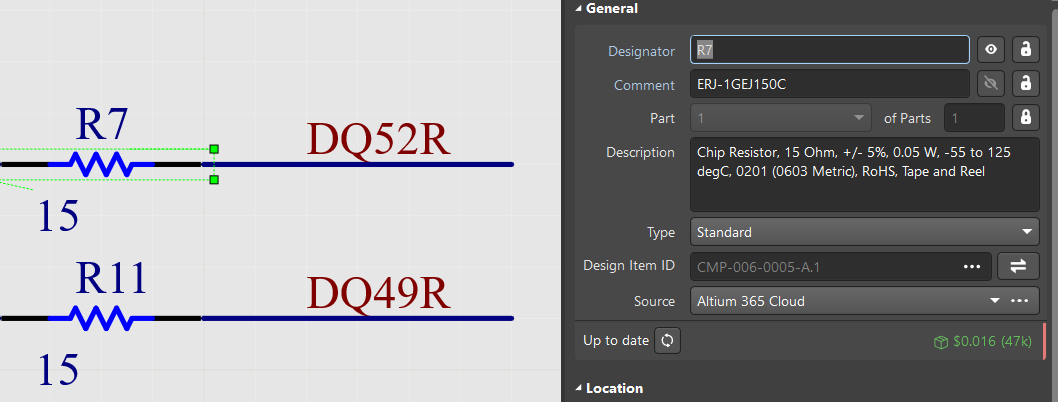
 (Update to the Latest Revision). The resulting Up to date caption verifies that the component update to the last revision. This topic is discussed in more detail in the Component Properties in the Schematic Editor Chapter.


