Creating a New Component
Creating a new component in the Altium cloud library starts with a default template. Each type of component comes with its default template. You can use it as is, change it, or create one completely from scratch. The template includes specific details and models while designating a server location for storage. To add a new component in Altium Designer, follow these steps:
In Altium Designer, open the Components panel. Right-click over the panel. Select Create from the menu.
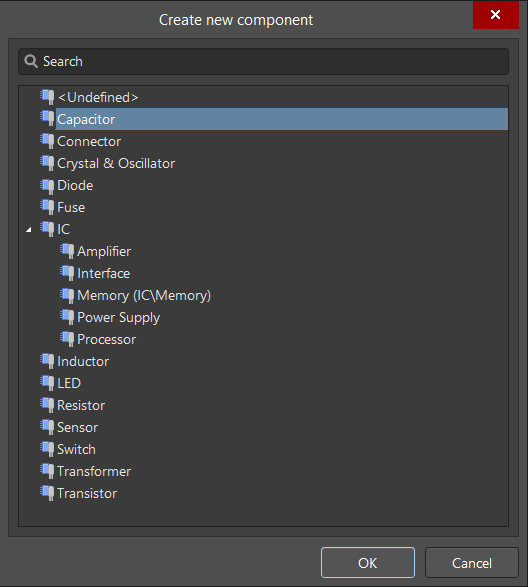
In the Create new component dialog, select the type of component by clicking on it and confirming with OK. This will open the component editor, allowing you to explore the specifics of your component.
Let's complete the fields in the component editor. Enter the component name and select the appropriate option from the drop-down list (06032C471JAT2A). The component Name, Description, Parameters, and models are now automatically filled in using the Octopart database.
Tip: We recommend that you do not change the entries in the Advanced Settings because the new component will have a set of specific parameters depending on the component type selected.
A new dialog box titled Use Component Data will appear, prompting you to utilize the component data from the cloud. You have the option to update the data as needed.
After you click OK, you can expand the Advanced Settings list to verify field completion.
Tip: During the migration of the library, the component models are not included in the template. We recommend that you create and use your own templates to create new components.
Ensure your modifications are saved by selecting Save to Server from the menu (saving the current document as a new revision on the server). This action will release the component, making it ready for use.


