Replacing Placed Components
It is often necessary to replace one component with another when designing a schematic. While you can update a placed component within the component's Properties panel, sometimes you just need a similar part with different parameters. Instead of manually deleting the original component and placing a new one, Altium allows you to replace it, retaining existing wire connectivity. We will consider how to quickly and easily replace one component with another.
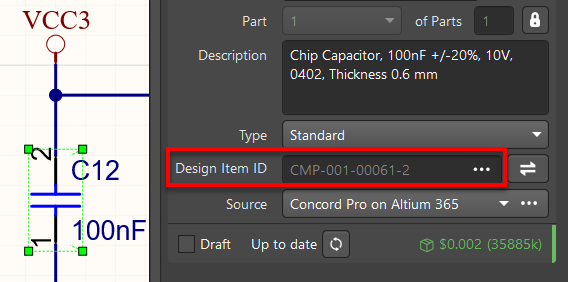
Open the properties of the component to be replaced and click on the  button in the Design Item ID field (Fig.1).
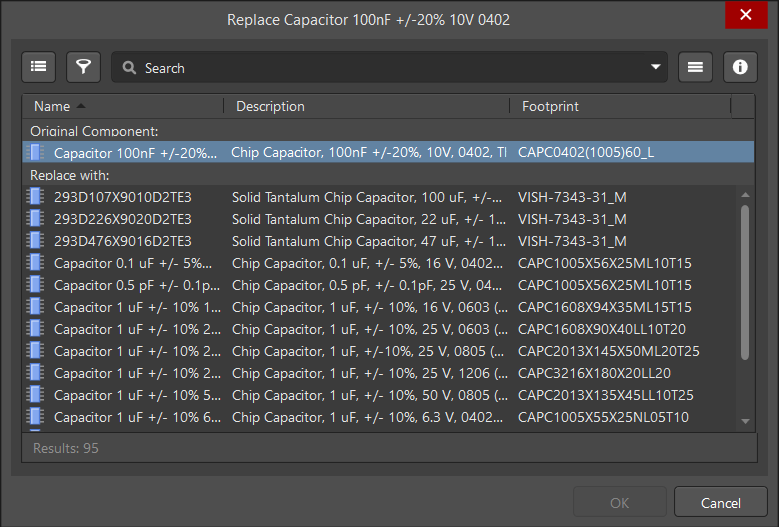
The name of the selected component is on the top of the Replace… window. You can also find a list of components available for replacement filtered by component type. (Fig. 2)
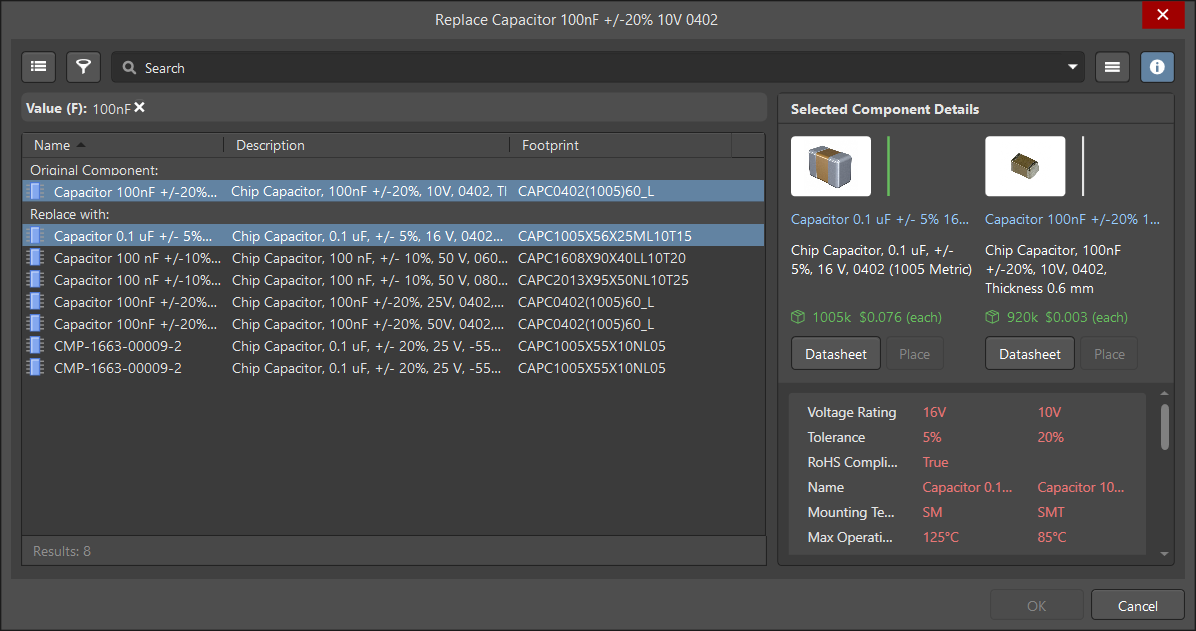
Use the filters to find an appropriate replacement or specify your search options using the Search field. Component search is described in more detail in the Component Search and Placement Chapter (Fig. 3).
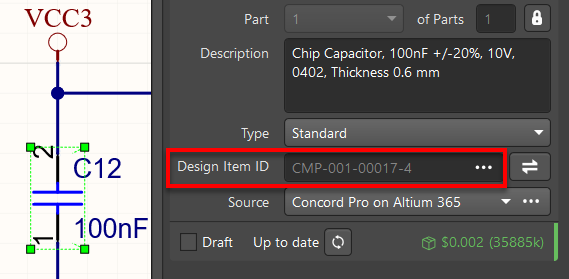
Select the required component in the list, then click ОК. It will be placed automatically into the schematic (Fig. 4).
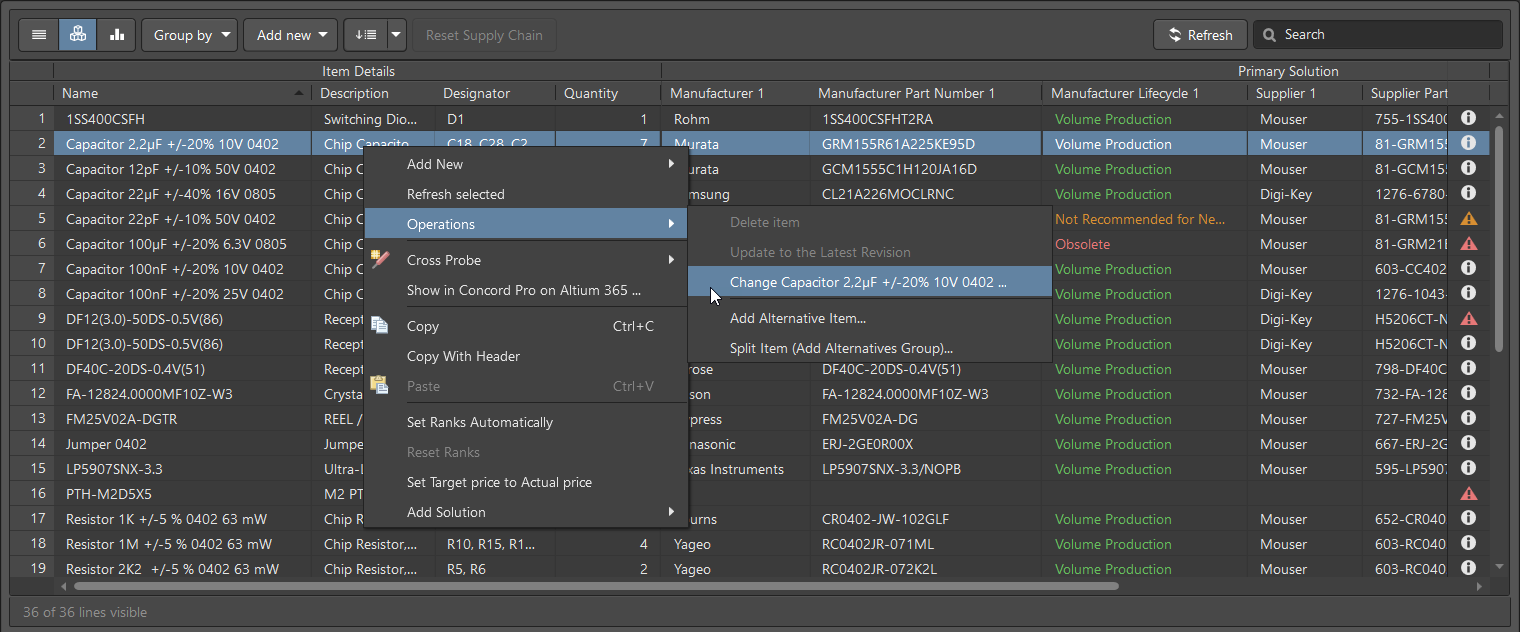
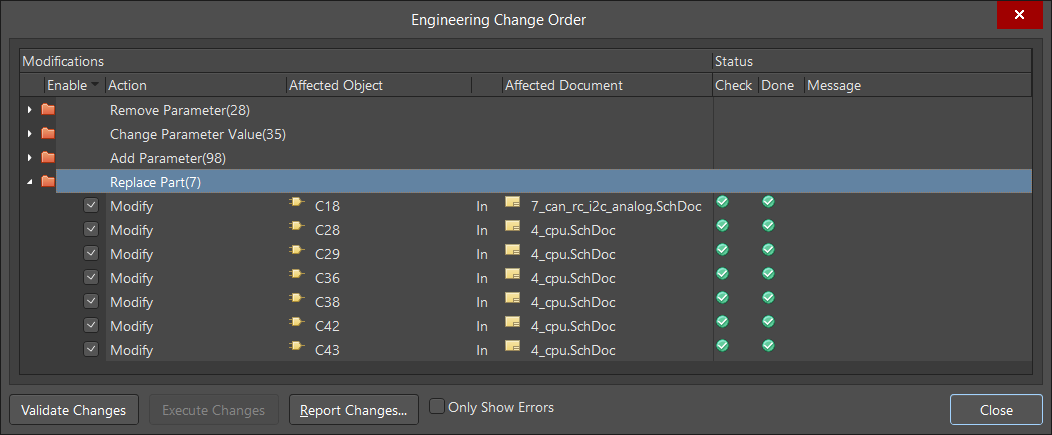
Using the Properties panel to replace a large number of components is inconvenient. In this case, we recommend using the ActiveBOM document.


