Project Release to Manufacturing
Working with Altium helps you to generate and send the required output information to the customer or manufacturer without the use of any extra programs, saving time and ensuring consistency. In this chapter, we will explain how to generate and release data with Altium.
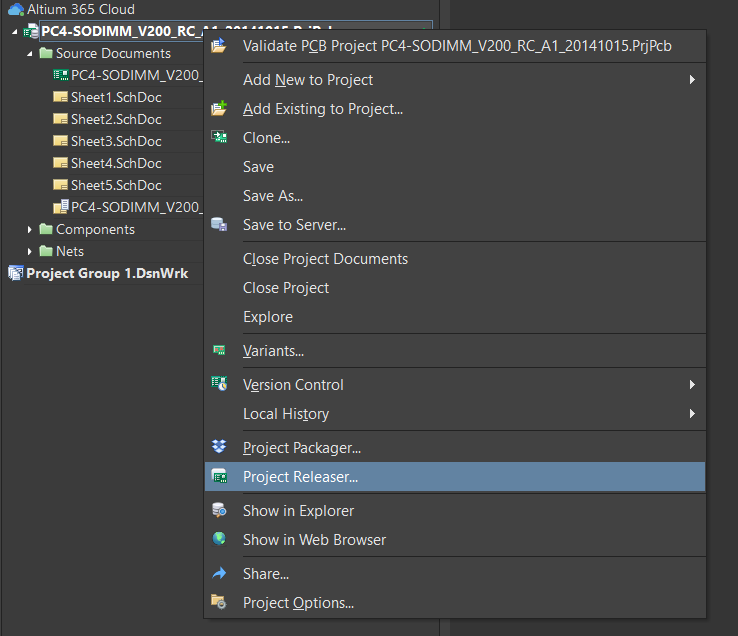
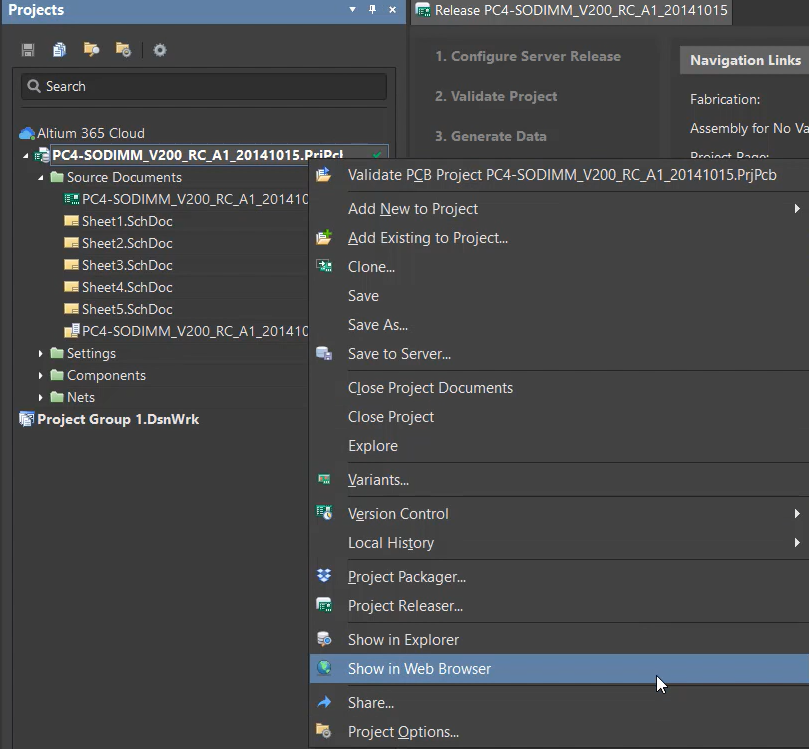
Right-click over the project name in the Projects panel then select Project Releaser.
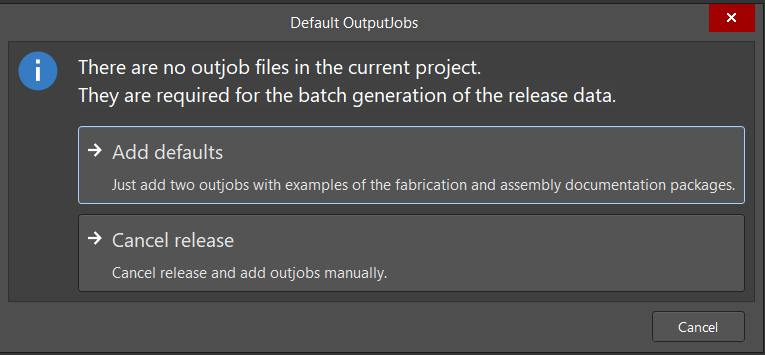
Tip: If you don't have existing outjob files for your project, you can create default outjob files for fabrication and assembly documents.
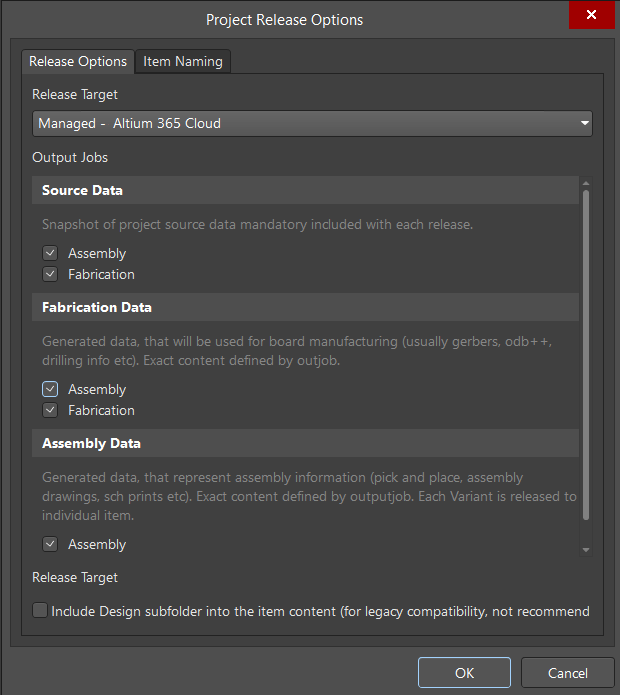
In the Project Release editor that opens, click Options at the bottom left to open the Project Release Options dialog. Enable the outjob files you have defined for each data package, as shown below, to determine the types of output data then click OK.
In the Project Release editor, use the drop-down arrow associated with the Prepare button at the lower right then select Prepare & Release.
If the project files changed since your last commit, you would be prompted to save and commit the changes to the Workspace.
Select the files to commit and add a comment stating the reason, then click Commit and Push.
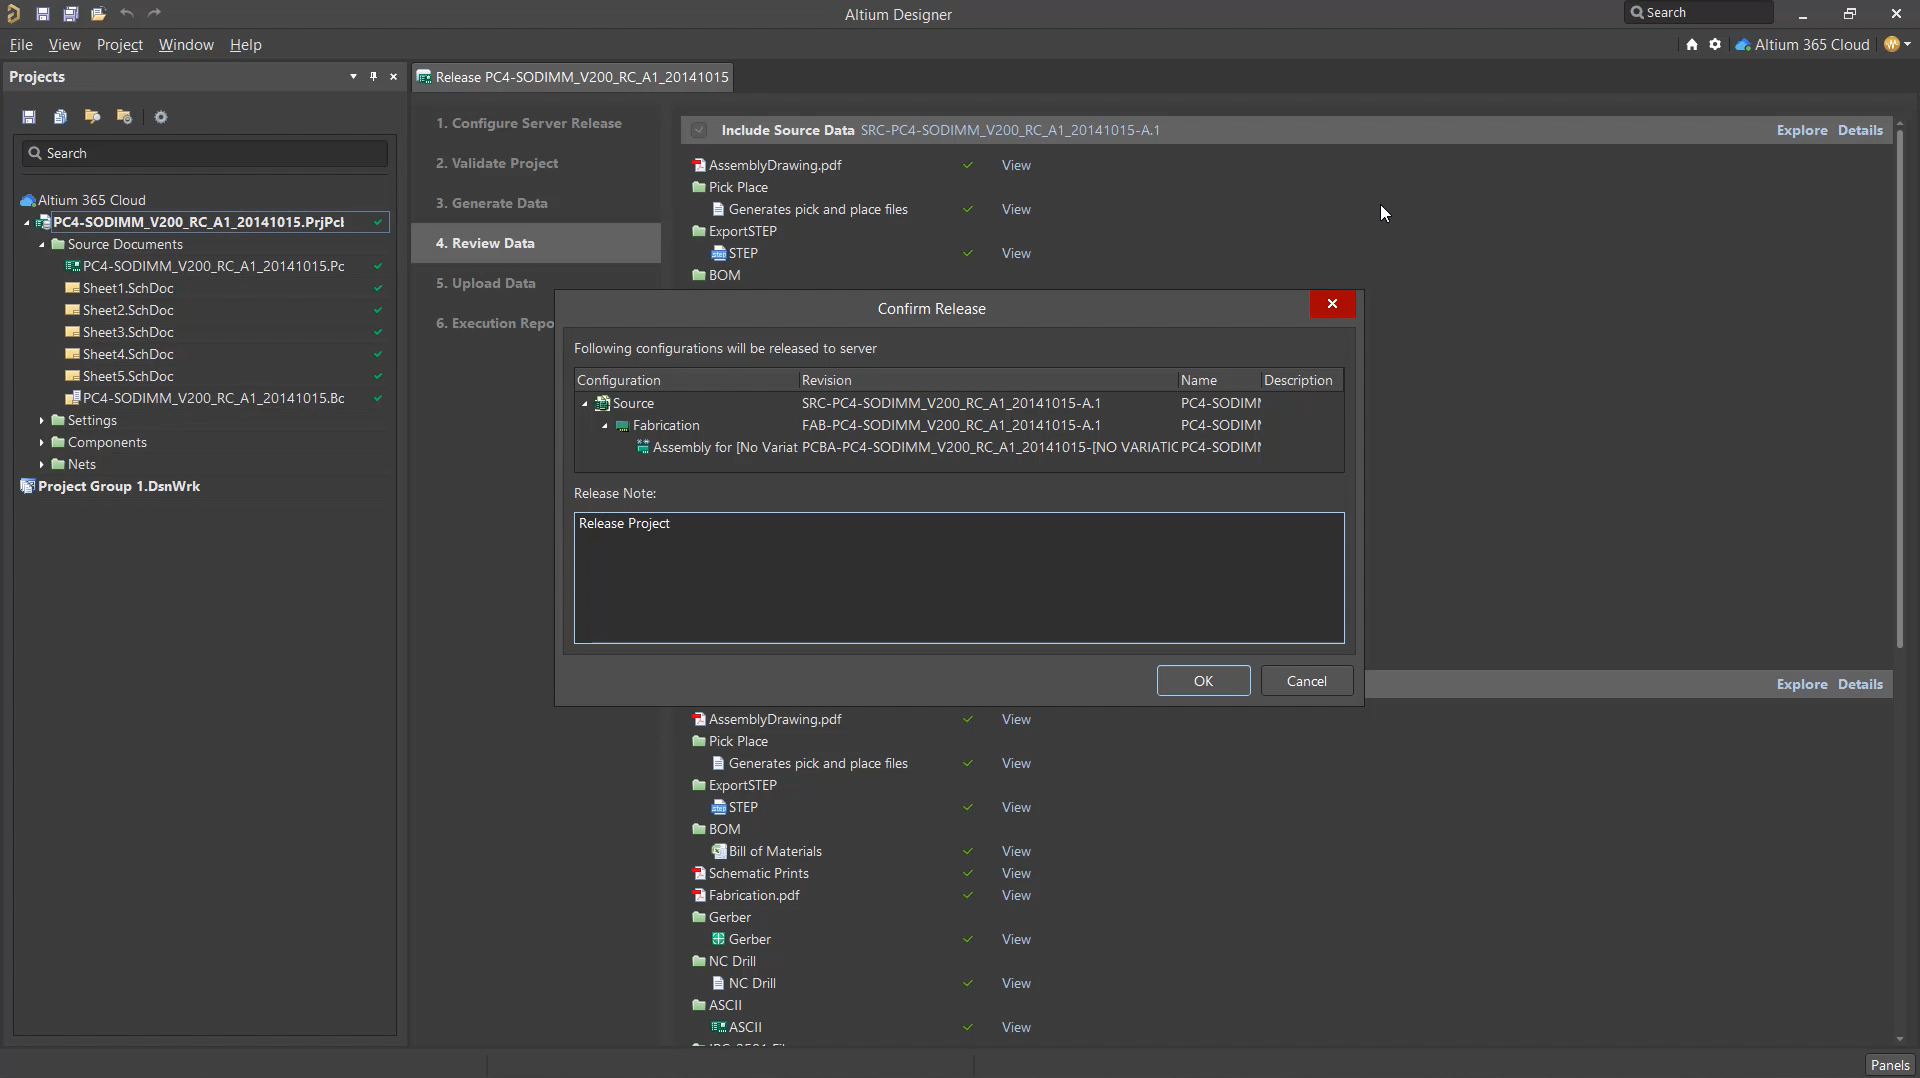
Project Releaser will begin the release process.
- Validate Project: If errors appear, correct them, then repeat the operation.
- Generate Data
- Review Data: Make sure that all icons are green, and the data generates correctly.
After file generation, you will be asked to place the prepared output archives into Altium. Remember to include a description of the reason you're generating the release.
At the final stage, the data generates and releases. Hyperlinks also will be provided for quick access. The output data archives are created. They are available at any time, from any device.
To send data to the manufacturer:
Right-click on the project name in the Projects panel then select Show in Web Browser from the context menu.
Select the Manufacture tab then click Send to Manufacturer, as shown in the figure below.
Optional: Click Add More Files in the Sending to Manufacturer dialog that opens.
Once you enable the files you want to send, enter the manufacturer's email address in the Manufacturer Email field and click Send.
The manufacturer specified in the email will receive a message. Output files can be accessed directly from the email service or a web browser. 🎬Project Releaser


