


Manufacturer Part Search
Altium Designer has a large component storage database based on Octopart technologies. The Manufacturer Part Search panel offers a search feature based on categories and parametric filtering that allows you to choose the exact component you need and select a preferred supplier for that physical part based on cost and availability.
To open the Manufacturer Part Search panel, select View » Panels » Manufacturer Part Search from the main menu in Altium Designer or the Manufacturer Part Search option from the 
 button menu at the lower right of the main screen.
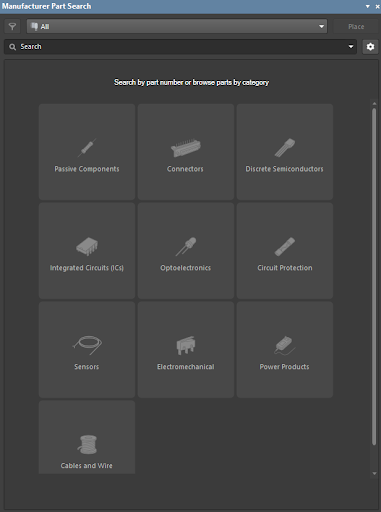
In the main region of the panel, the icons represent the various component categories. Clicking on an icon opens a list of all available components in that category with filtering options. Click on the Connectors category to open all available connector parts.
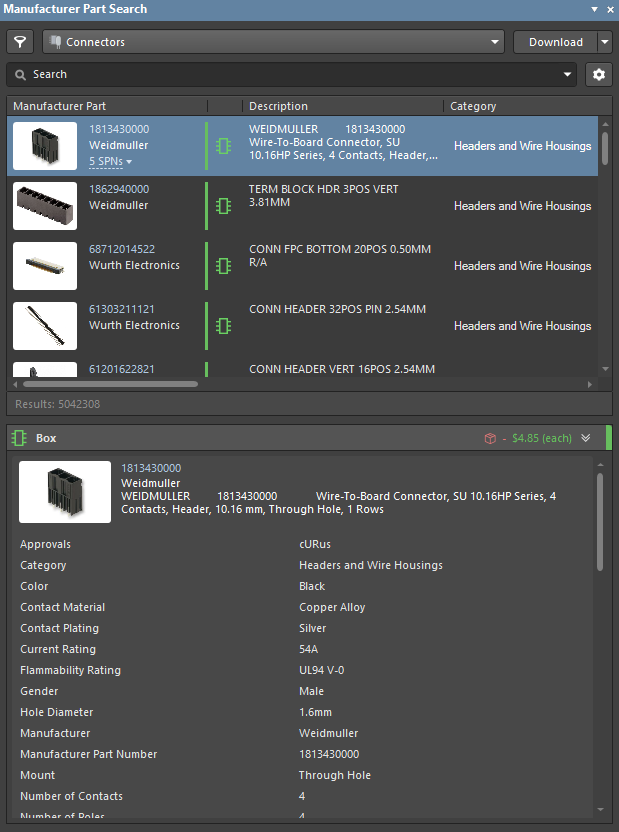
Tip: You can return to the top menu with all categories by clicking the drop-down at the top of the panel and selecting All.
Depending on the input data, there are several ways to search for the required component. For example, imagine that you need to place an HDMI connector on the PCB. Based on this, there are three possible cases.
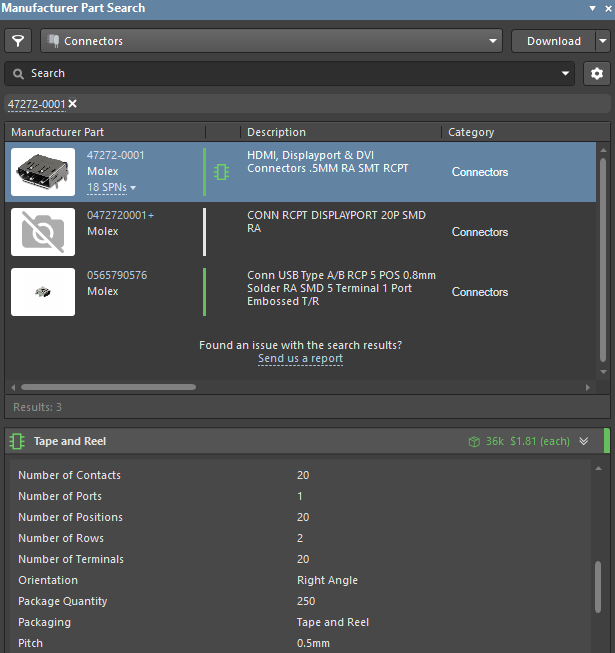
Case #1: You know the required part number. Enter the part number in the Search field and press Enter. For example, enter 47272-0001 in the field and click on the relevant component from the resulting grid.
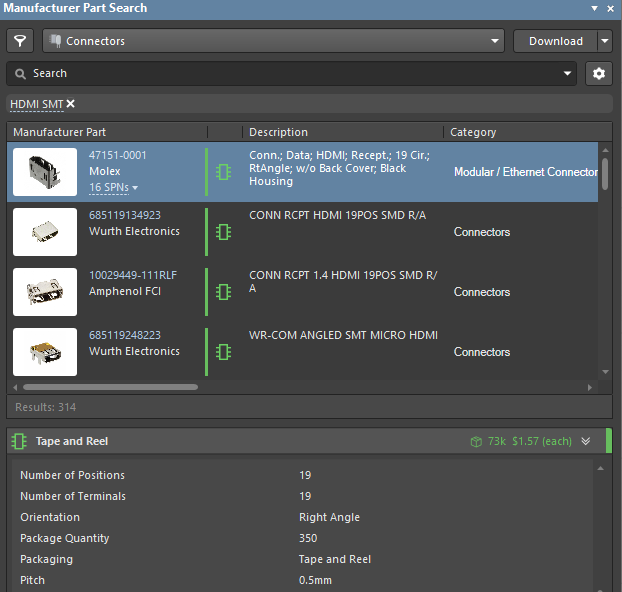
Case #2: You know the part application. You can perform a search using the component description. If you need a surface-mounted HDMI connector, enter HDMI SMT in the search field to find all relevant parts. The currently selected filter options are shown above the parts list and can be removed (using the associated X icon) to modify the active search filters.
Case #3: You know the part parameters. You need to place a surface-mounted receptacle connector with two pins. Open the  Filter menu by pressing the panel's filter icon at the top-left corner. You will see an extensive list of all the parameters for component filtering. Enable Surface Mount in the Mount region and 2 in the Number of Pins region. The list of components will automatically update each time a check is placed or removed. This allows you to quickly narrow the list of choices to the most suitable manufactured parts, sorted by a combination of model availability, supplier stock, and price. The currently selected filter options are shown above the parts list and can be removed (using the associated X icon) to modify the active search filters.
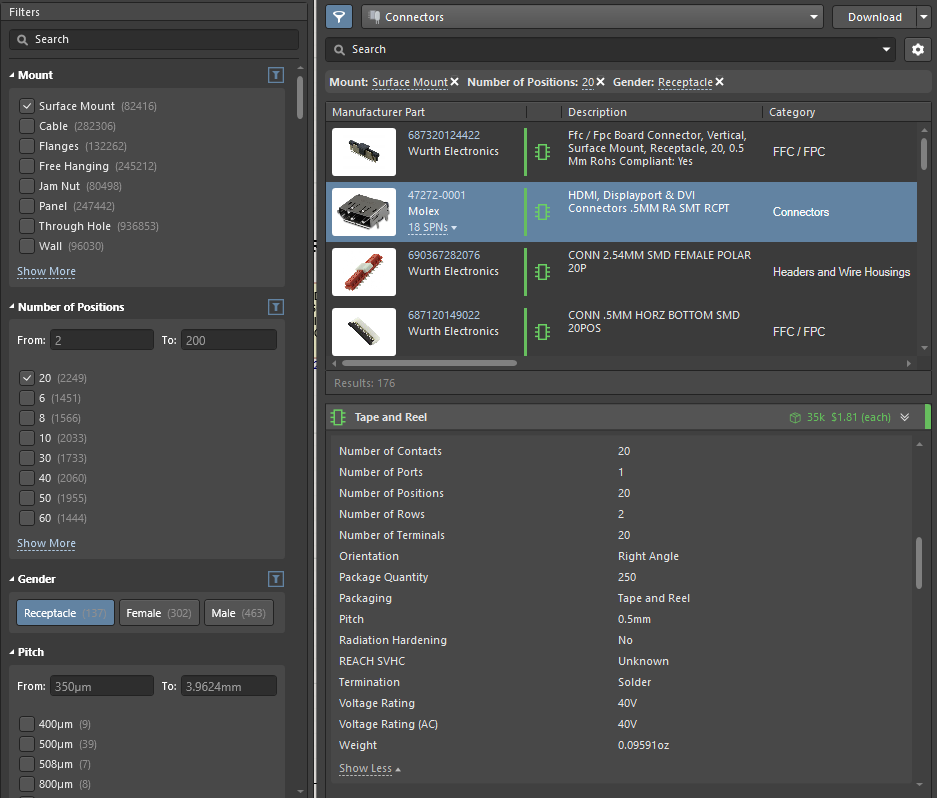
Using the previously described filters and options, we found the required component. Some of the components in the list have a green  icon (has models), and some have a gray
  icon (models are missing). The green icon components are identical to the managed components and are ready to be placed in your design. The gray icons cannot be placed instantly on the schematic.>

You can display only components with attached models in the filter menu by locating the Has Model option in the Filters region and selecting Yes.

Parts with associated models can be used in your projects through a simple drag-and-drop function (i.e., drag the necessary component onto the schematic sheet).

To compare components, specify a search query or define the filter settings so that you can select components to compare. For example, enter HDMI in the Search field. Hold the Ctrl button in the search results, and click on the components you want to compare. After each click, a new component will appear in the  Select Part Details region of the panel.

Each part entry in the list also includes a link to the online manufacturer's data and a tabular list of supplier choices, sorted by price and availability. Suppliers provide a snapshot of the current (live) stock level, pricing, and supplier part number. To see all options from suppliers, select a component, then click the down arrow associated with the underlined ## SPNs text under the Part Number and Manufacturer.

