Generating and Storing Outputs
All files are uploaded separately for each container. Let's upload all files assigned to the PDF container. First, we need to change the properties of the container files.
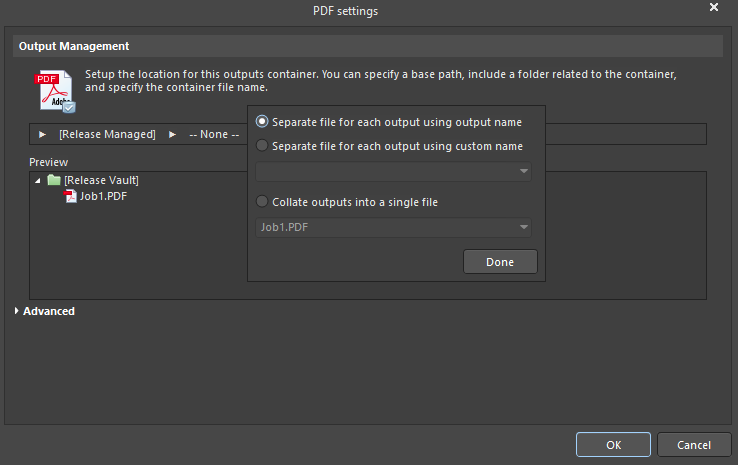
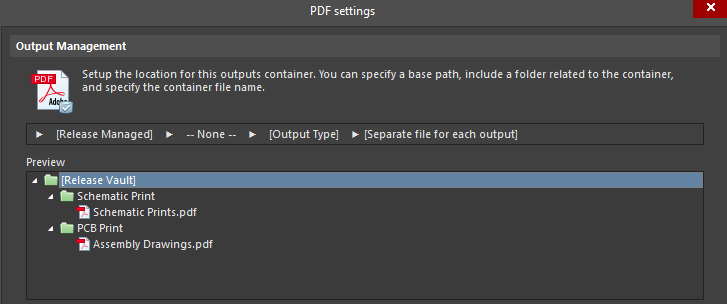
In the OutJob file, click on PDF in the Output Containers region. Click Change at the upper-right corner of the container selection to open the PDF settings dialog. This dialog can be used to edit all the parameters related to exporting the selected outputs to a PDF file. By default, all selected files will be created in one PDF file, so it is necessary to specify the output of all files in separate documents. Click on Job1.PDF on the top line then select Separate file for each output using output name. Click Done to apply the changes. The structure of the files to be exported in the Preview region will display the preferred format of the files output. Click OK to save the selected configuration and close the dialog.
Click Generate content to export all selected outputs using the selected container. When finished, a new folder with the name Output Job Files will appear in the Kame_FMU.PrjPCB project tree that contains all selected outputs separated by their type, as was configured in the previous step.

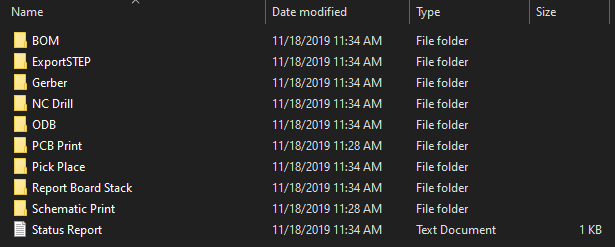
Click on Folder Structure in the Output Containers region. Click Generate content to export all outputs assigned to the selected container. When the output files have been exported from the two containers, the Outputs folder should look as shown below.